14 Essential Git Commands for Data Scientists
Learn essential Git commands for versioning and collaborating on data science projects.
Photo by RealToughCandy.com
Historically, most data scientists are unaware of software development practices and tools such as version control systems. But, this is changing, data science projects are adopting best practices from software engineering, and Git has become an essential tool for file and data versioning. Modern data teams use it to collaborate on codebase projects and resolve conflicts faster.
In this post, we will learn about 14 essential Git commands that will help you initialize a project, create and merge branches, version the files, sync it with a remote server and monitor the changes.
Note: make sure you have properly installed Git from the official site.
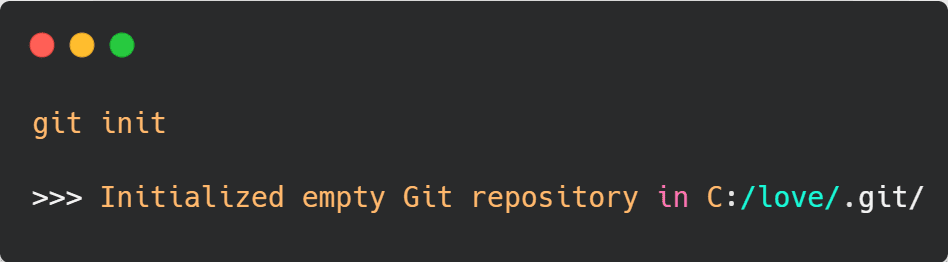
1. Initialization
You can initialize the Git version control system in the current directory by typing:
git init
Or you can initialize Git in a specific directory.
git init <directory>
2. Clone
The clone command will copy all of the project files from a remote server to the local machine. It will also add a remote name as `origin` to sync files with the remote server.
Git clone requires HTTPS link and for secure connection SSH link.
git clone <HTTPS/SSH>
3. Adding Remote
You can connect to a single or multiple remote servers by adding the name of the remote and HTTPS/SSH address.
git remote add <remote name> <HTTPS/SSH>
Note: Cloning a repository from GitHub or any remote server automatically adds remote as `origin`.
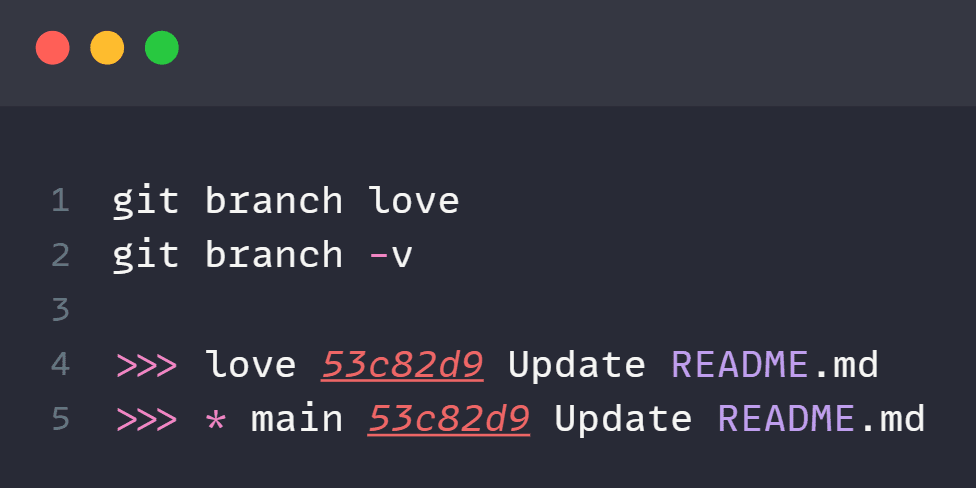
4. Create Branch
Branches are the best way to work on a new feature or debug the code. It allows you to work in isolation without disturbing the `main` branch.
Create a new branch using the checkout command with the `-b` tag and branch name.
git checkout -b <branch-name>
Or use switch with `-c` tag and branch name
git switch -c <branch-name>
Or simply use branch command
git branch <branch-name>
5. Switch Branch
To switch a branch from current to a different branch, you can use the checkout or switch command followed by branch name.
git checkout <branch-name>

git switch <branch-name>
6. Pull
To sync changes with a remote server, we need to first pull changes from the remote to the local repository by using the pull command. This is required when changes are made in a remote repository.
git pull
You can add a remote name followed by a branch name to pull a single branch.
git pull <remote name> <branch>
By default, the pull command fetches the changes and merges them with the current branch. To rebase, instead of merge, you can add the `--rebase` flag before the remote name and branch.
git pull --rebase origin master
7. Add
Use add command to add files into the staging area. It requires the filename or list of file names.
git add <file-name>
You can also add all files using the `.` or `-A` flag.
git add .
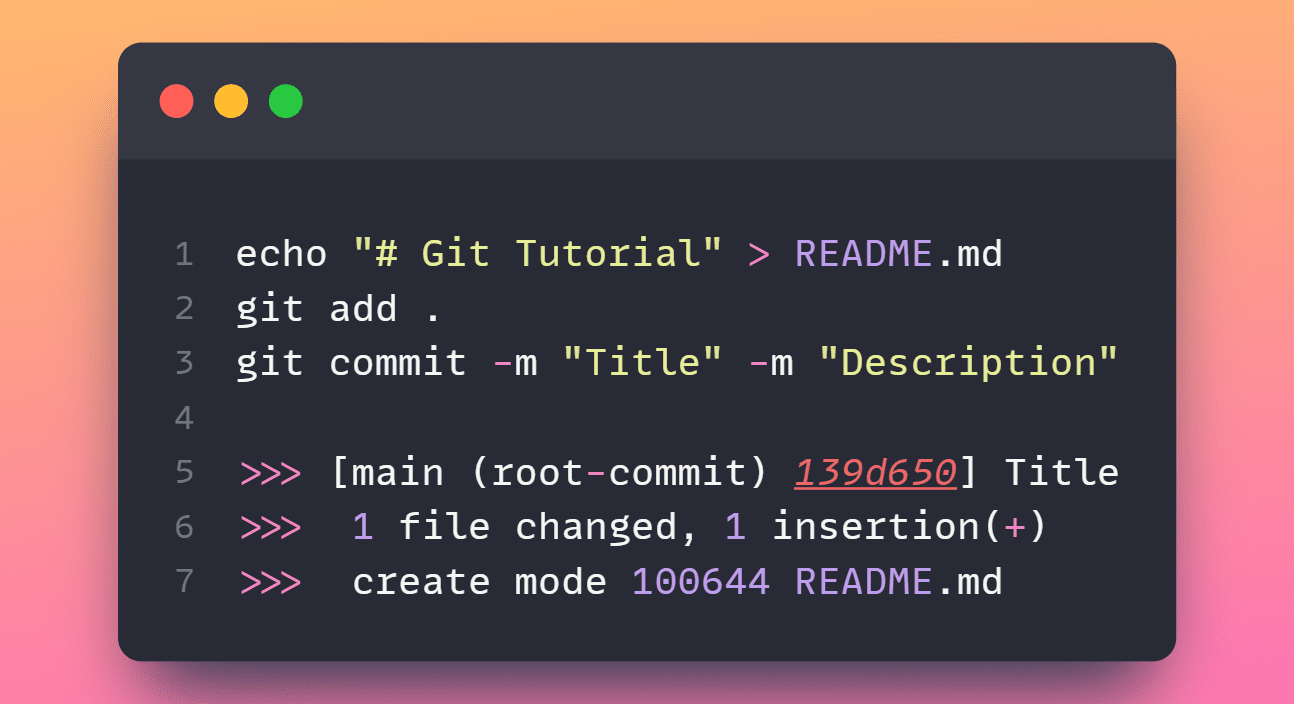
8. Commit
After adding files to the staging area, you can create a version by using the commit command.
The commit command requires the title of the commit by using the `-m` flag. If you made multiple changes and want to list them all, add them to the description by using another `-m` flag.
git commit -m "Title" -m "Description"
Note: Make sure you have configured your username and email before committing changes.
git config --global user.name <username>

git config --global user.email <youremail@yourdomain.com>
9. Push
To sync local changes to remote servers using the push command. You can simply type `git push` to push the changes to the remote repository.
For pushing changes to a specific remote server and branche, use the command below.
git push <remote name> <branch-name>
10. Undo Commit
Git revert undoes the changes back to a specific commit and adds it as a new commit, keeping the log intact. To revert, you need to provide a hash of a specific commit.
git revert <commit>
You can also undo changes by using the reset command. It reset the changes back to a specific commit, discarding all commits made after.
git reset <commit>
Note: Using reset command is discouraged as it modifies your git log history.
11. Merge
The merge command will simply merge the changes of the specific branch into the current branch. The command requires a branch name.
git merge <branch>
This command is quite handy when you are working with multiple branches and want to merge changes to the main branch.
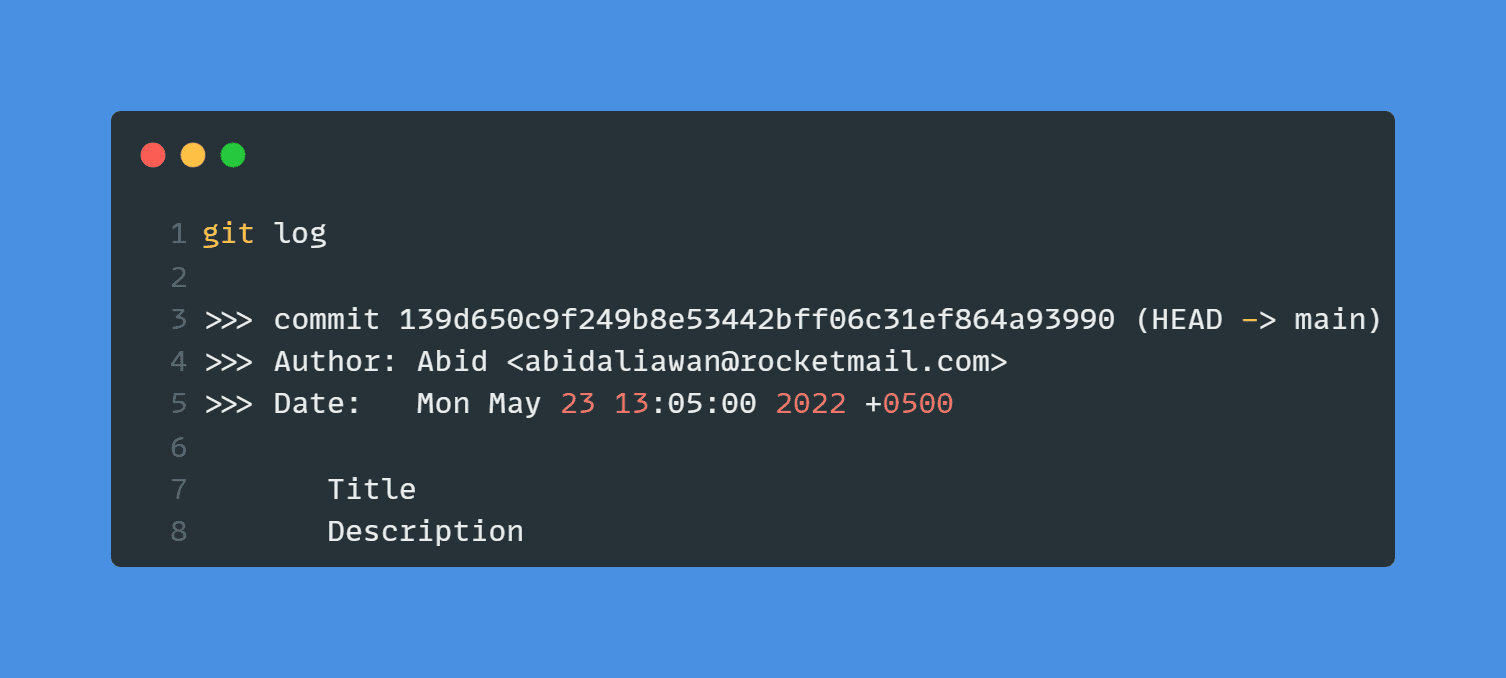
12. Log
To check the complete history of previous commits, you can use the log command.
To show the most recent logs, you can add `-` followed by the number, and it will show you a limited number of recent commit history.
For example limit logs to 5:
git log -5
You can also check the commits made by specific authors.
git log --author=”<pattern>”
Note: git log has multiple flags to filter out specific types of commits. Check out full documentation.
13. Difference
Using the diff command will display the comparison between uncommitted changes with the current commit.
git diff
For comparing two different commits, use:
git diff <commit1> <commit2>
And for comparing two branches, use:
git diff <branch1> <branch2>
14. Status
The command status displays the current status of the working directory. It includes information about changes to be committed, unmerged paths, changes not staged for commit, and the list of untracked files.
git status
Note: check out Github and Git Tutorial for Beginners to learn more about version control systems in data science.
Abid Ali Awan (@1abidaliawan) is a certified data scientist professional who loves building machine learning models. Currently, he is focusing on content creation and writing technical blogs on machine learning and data science technologies. Abid holds a Master's degree in Technology Management and a bachelor's degree in Telecommunication Engineering. His vision is to build an AI product using a graph neural network for students struggling with mental illness.