Here’s Why WebMCP is Exciting
WebMCP is an open web standard that lets websites expose structured, callable tools directly to browser-based agents. Find out what makes it exciting.
# Introduction
You have probably watched a browser AI agent work at some point this year. It clicks a dropdown, waits for the DOM to update, reads a screenshot, decides what to click next, and waits again. One task. Five seconds. A hundred things that could go wrong. If the CSS class changes, if the dropdown animates differently, if the page lazy-loads something, the whole thing breaks.
That is not a model problem. The models are fine. It is a protocol problem. There was no standard way for a website to tell an agent what it could actually do on the page, so agents were left guessing pixel by pixel, click by click.
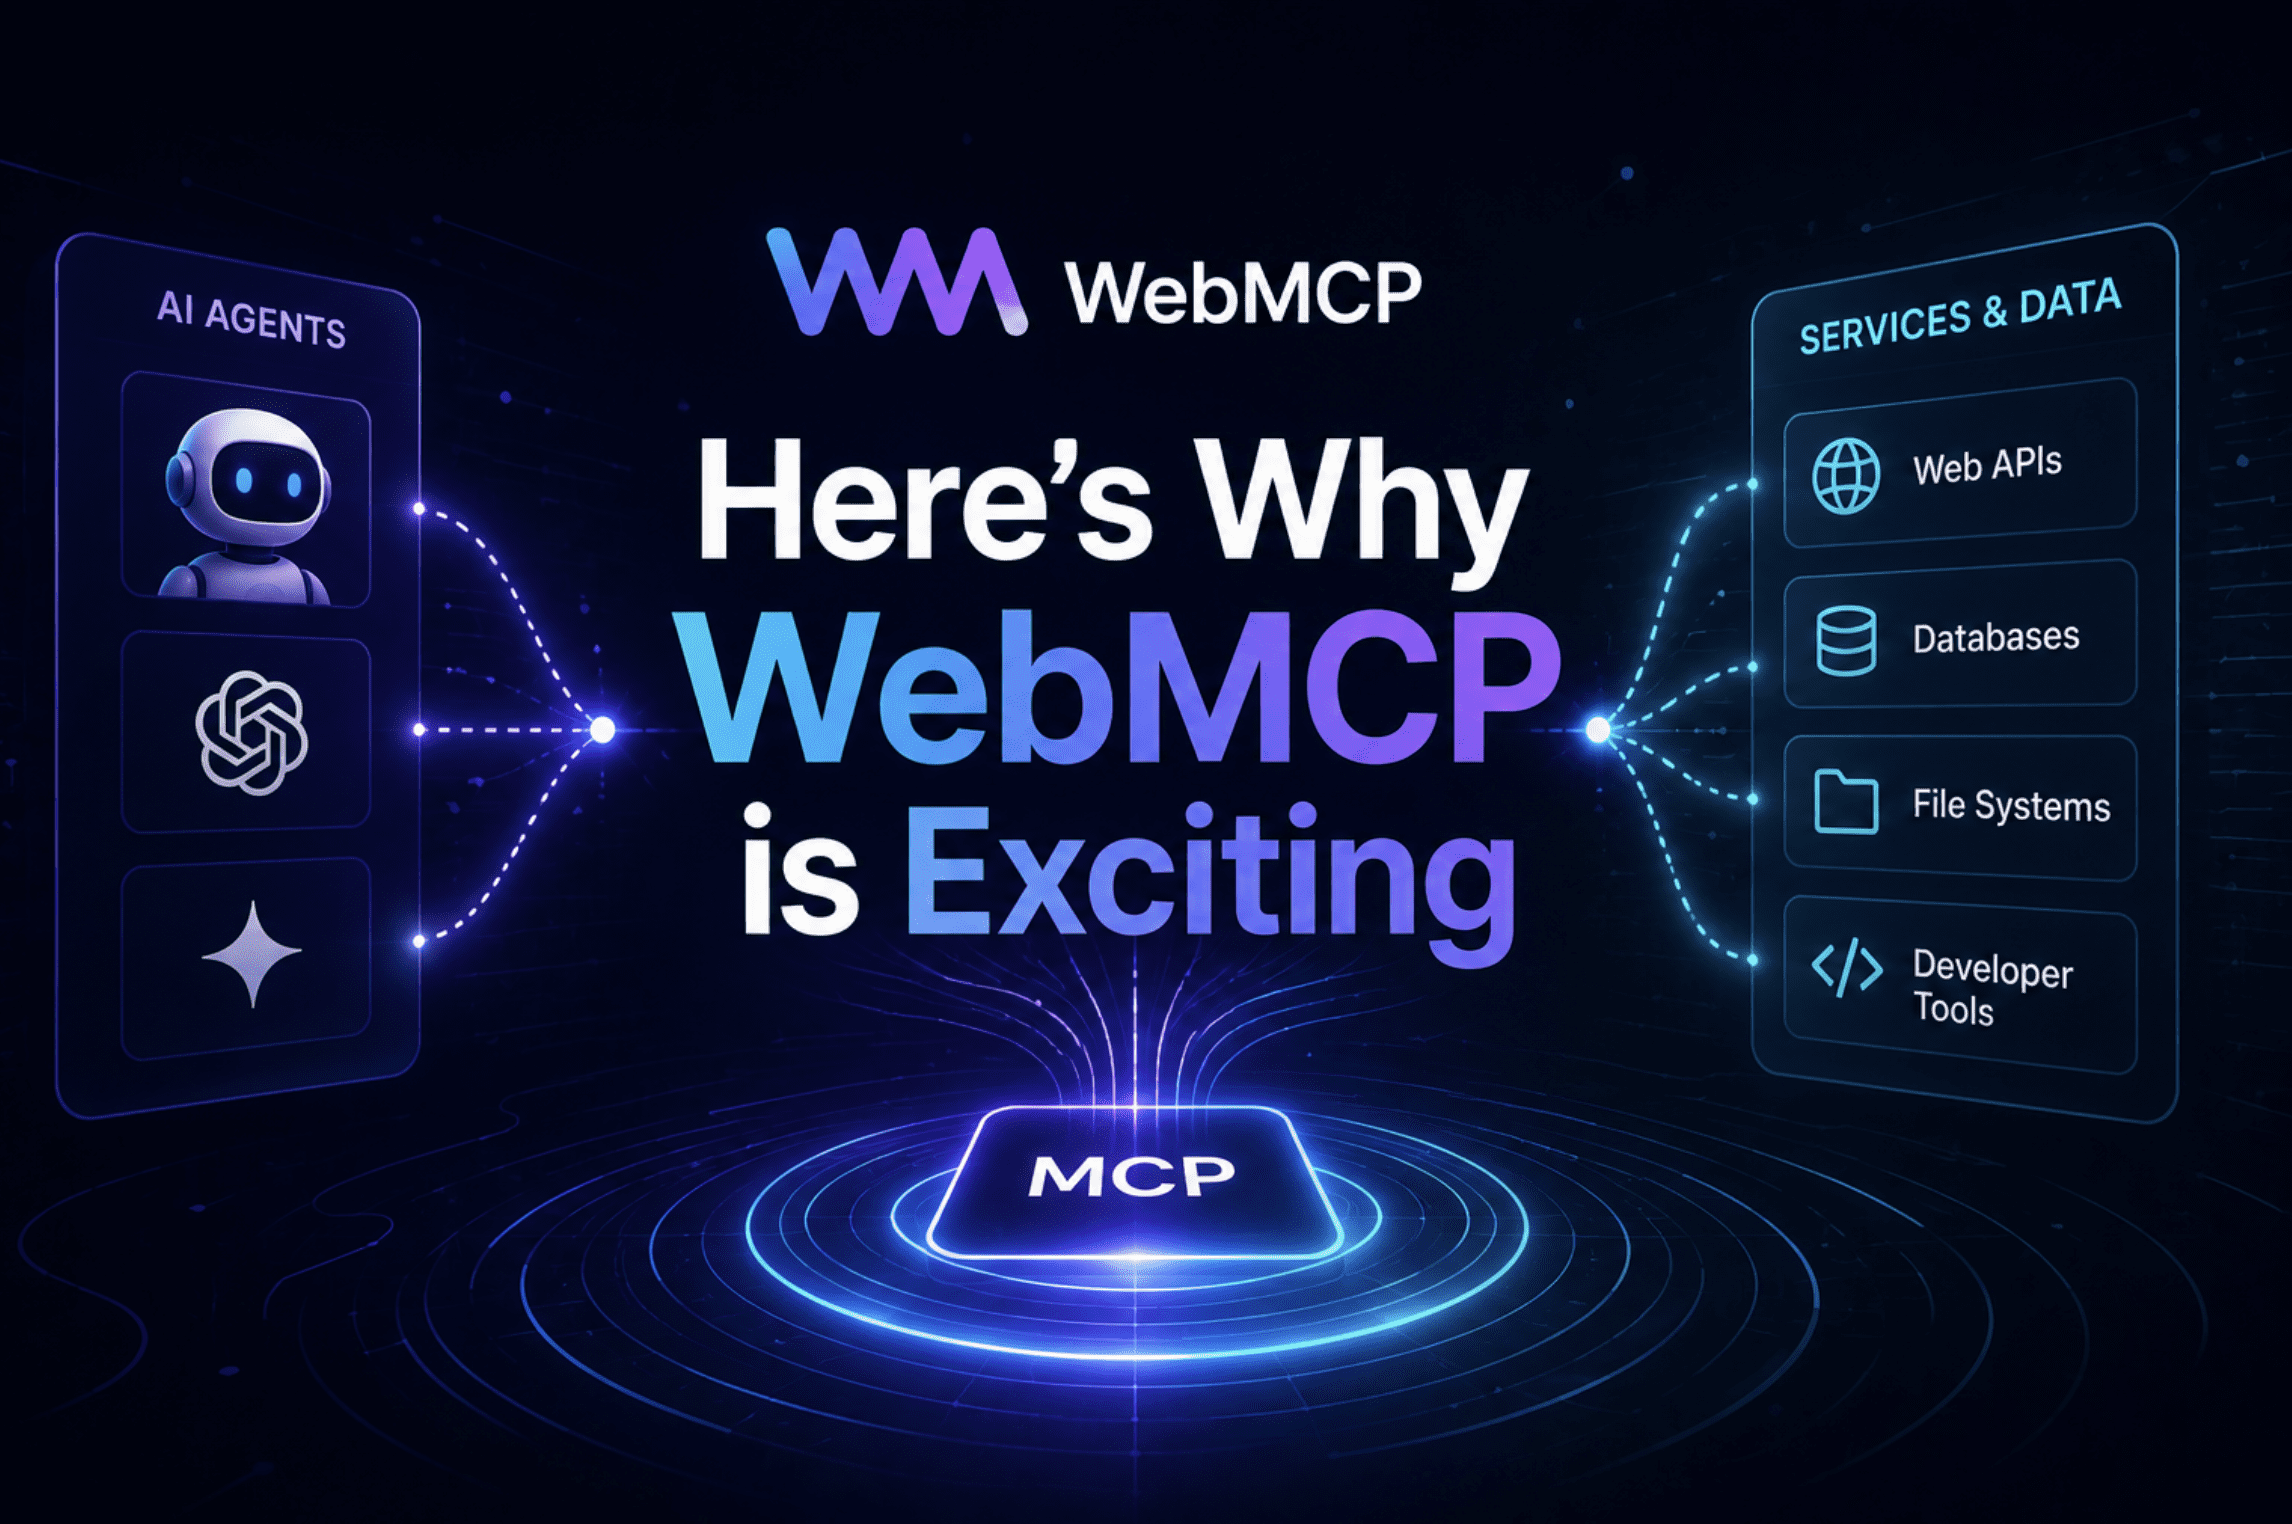
WebMCP is the fix. It is a proposed open web standard that lets websites expose structured, callable tools directly to browser-based agents. Instead of an agent trying to interpret your UI, your site tells the agent exactly what functions exist, what inputs they take, and what they return. The agent stops guessing.
Google announced the WebMCP origin trial at Google I/O 2026 on May 21, and Chrome 149 shipped with it enabled for real traffic not just developers behind a flag. If you build anything on the public web, this is worth understanding today.
# What WebMCP Actually Is
WebMCP is a browser-native agent protocol co-developed by Google and Microsoft. The W3C Web Machine Learning Community Group published the specification as a draft in February 2026, with three editors: Brandon Walderman from Microsoft, Khushal Sagar and Dominic Farolino from Google.
The core idea is simple: a website registers "tools" named, typed JavaScript functions or annotated HTML forms through a document.modelContext interface. A browser agent can then discover those tools, understand what they do from their descriptions and JSON Schemas, and call them directly instead of simulating mouse clicks.
Think of it as the difference between handing someone a remote control and watching them poke at your television screen, trying to change the channel.
To understand where WebMCP fits, it helps to know where it does not fit. Anthropic's Model Context Protocol (MCP) is a server-to-server protocol, the model connects to your backend over stdio or HTTP. Agent-to-Agent (A2A) handles communication between different AI agents. WebMCP handles the layer those two miss: the client page, with the logged-in user sitting right there.

A three-layer stack diagram showing "Server Layer" "Agent Layer" and "Browser/Page Layer"
WebMCP provides three things to bridge this gap:
- Discovery: a standard way for pages to register tools with agents, such as checkout or filter_results, so an agent visiting your page knows what is available
- JSON Schema: explicit definitions of what inputs each tool expects and what it returns, which reduces the hallucination that happens when agents are left to interpret ambiguous UI elements
- State: tools can be registered and unregistered dynamically as the page state changes, so the agent always knows what actions are available at a given moment
# Why the Old Way Was Broken
Before WebMCP, browser agents had two options: vision-based actuation or DOM scraping. Vision-based actuation meant the agent took a screenshot, sent it to a multimodal model, got back coordinates to click, clicked, waited for the DOM to update, took another screenshot, and repeated. It worked well enough to demo. It did not work well enough to ship reliably. Every pixel change, every animation, every lazy-loaded element was a potential failure point.
DOM scraping was faster but semantically blind. The agent could read what elements existed on the page, but it had to guess their purpose from attribute names, class names, and surrounding text. A button labeled "Go" could mean search, submit, confirm, or navigate and the agent had to figure that out from context every single time.
The numbers reflect how significant the gap is. Research on structured versus unstructured browser automation shows that structured approaches reduce task errors by 67% and improve completion rates by 45% compared to scraping methods, according to analysis from WebMCP implementation guides published in 2026.
WebMCP's answer to all of this is to move the interpretation burden from the agent to the website. You know what your checkout button does. You know what fields your support form expects. WebMCP gives you a way to say that explicitly, in a format the agent can read without any guesswork.
# The Two APIs: Declarative and Imperative
WebMCP introduces two APIs, both accessible through the document.modelContext interface. They are designed for different situations, and you can use both on the same page.
// The Declarative API
The Declarative API is for HTML forms. You annotate your existing form elements with two new attributes: toolname and tooldescription, and the browser automatically translates the form into a structured tool the agent can call. You do not need to write any JavaScript for the basic case.
Here is what a support request form looks like with the Declarative API:
What this does: The browser reads the toolname and tooldescription attributes and registers the form as a callable tool. When an agent wants to submit a support request, it calls createSupportRequest with the appropriate inputs, no pixel-clicking required. The form remains visible to the user throughout, so they can see exactly what the agent is doing.
If you remove either attribute, the tool is automatically unregistered. You can also add toolautosubmit to the form element to let the agent submit it directly once it has populated the fields, instead of requiring the user to click the submit button manually.
The Declarative API is the right choice when you have a stable, form-based interface and want the simplest path to agent-readiness. Add two attributes. Done.
// The Imperative API
The Imperative API is for everything the Declarative API cannot handle, dynamic tools, JavaScript-driven interactions, tools that call APIs directly, tools that depend on application state. You define these tools in JavaScript using document.modelContext.registerTool()
Here is a practical example: an order status lookup tool that lets an agent check a customer's orders without scraping the order history page.
// Register a tool that lets an agent query order status for a logged-in user.
// The agent inherits the user's authenticated session -- no OAuth flow needed.

document.modelContext.registerTool({
  name: "get_order_status",

  // Description is critical -- write it for the agent, not for a human reading the code.
  // A vague description like "get orders" teaches the agent nothing useful.
  description:
    "Returns the order number, current shipping status, and estimated delivery location for orders in a selected time period. Call this when the user asks about their orders or a delivery.",

  // inputSchema follows the JSON Schema spec and defines what inputs this tool accepts.
  inputSchema: {
    type: "object",
    properties: {
      timeframe: {
        type: "string",
        description: "The time period to search orders within.",
        enum: [
          "today",
          "yesterday",
          "last_7_days",
          "last_30_days",
          "last_6_months",
        ],
      },
    },
    required: ["timeframe"],
  },

  // execute is the function the browser calls when an agent invokes this tool.
  // It receives the validated input and should return a string the agent can read.
  execute: async ({ timeframe }) => {
    // Fetch from your existing backend -- the user's session cookies are already present.
    const response = await fetch(`/api/orders?timeframe=${timeframe}`);
    const orders = await response.json();

    if (!orders.length) {
      return `No orders found for ${timeframe}.`;
    }

    // Return a structured summary the agent can interpret and relay to the user.
    return orders
      .map(
        (o) =>
          `Order #${o.id}: ${o.status}, estimated delivery to ${o.location}`
      )
      .join("\n");
  },
});
What this does: The tool is registered with a name, a plain-language description, a typed input schema, and an async execute function. When a browser agent asks for available tools on the page, it sees get_order_status alongside its schema. It knows exactly what to pass in and what to expect back.
If you need to unregister a tool later, for example, when a user logs out or navigates away from a section where the tool makes sense, you use an AbortController:
// Unregistering a tool when it should no longer be available.
// This matters for SPAs where page sections change without a full navigation.

const controller = new AbortController();

document.modelContext.registerTool(toolDefinition, { signal: controller.signal });

// Later, when the user logs out or the tool is no longer relevant:
controller.abort(); // Tool is unregistered immediately
What this does: Passing an AbortSignal to registerTool gives you a clean way to remove tools without tracking references manually. When you call controller.abort(), the tool disappears from the agent's discovery list right away. This is important for single-page applications where the available actions change as the user moves through the product.
You can also discover all registered tools on the current page with document.modelContext.getTools(), and call any of them manually with document.modelContext.executeTool(). The Model Context Tool Inspector Chrome extension uses exactly this pattern to let you test your tools before any real agent calls them.
# The Authentication Breakthrough
This is the part of WebMCP that does not get enough attention. Standard MCP integrations, the server-side, require OAuth client registration, token exchange, refresh logic, secure credential storage, and audit logging. Every service the agent needs to interact with requires its own OAuth flow. For a developer building an agent that touches five different tools, that is five separate integrations to maintain.
WebMCP sidesteps this entirely because it operates inside the browser, on a page the user is already authenticated on. The agent inheriting the user's session cookies is not a hack, it is the design. If the user is logged into your app, any tool the user has permission to use, the agent can use it too. The session is the credential.
This matters beyond developer convenience. It changes the security model. The agent cannot do anything through WebMCP that the logged-in user could not do directly. It cannot escalate privileges. It cannot access other users' data. The existing permission boundaries of your web application apply automatically.
One thing worth noting: the WebMCP security guidance is explicit that agentInvoked, the boolean on SubmitEvent that tells you whether an agent triggered the form, should be treated as a signal, not a credential. Do not use it to grant additional permissions. It tells you who submitted the form; it does not verify identity.
# A Real Use Case: Travel Booking End to End
Google used travel booking as one of its primary examples at I/O 2026, and it illustrates the difference WebMCP makes better than anything abstract.
Without WebMCP, a browser agent booking a multi-city trip looks like this: search the flights page, screenshot the search form, identify the "From" field, click it, type a city, click the "To" field, type the next city, find the date picker which uses a custom calendar widget that the agent has to interpret visually click through it, find the passenger count selector, interact with it, then hit search and wait to see if the whole chain of actions produced the right results.
One broken selector, one animation the agent misses, one form field that resets when another changes and the booking fails silently or incorrectly.
With WebMCP, the travel site registers a book_flight tool:
// A flight booking tool that accepts structured input from an agent.
// The agent does not need to interact with the UI at all for the search step.

document.modelContext.registerTool({
  name: "search_flights",
  description:
    "Search available flights between two cities for given dates and passenger count. Returns matching itineraries with price, duration, and layover details.",

  inputSchema: {
    type: "object",
    properties: {
      origin: {
        type: "string",
        description: "Departure airport IATA code (e.g. LOS for Lagos).",
      },
      destination: {
        type: "string",
        description: "Arrival airport IATA code (e.g. LHR for London Heathrow).",
      },
      departure_date: {
        type: "string",
        description: "Departure date in YYYY-MM-DD format.",
      },
      return_date: {
        type: "string",
        description:
          "Return date in YYYY-MM-DD format. Omit for one-way flights.",
      },
      passengers: {
        type: "integer",
        description: "Number of passengers. Must be between 1 and 9.",
        minimum: 1,
        maximum: 9,
      },
      cabin_class: {
        type: "string",
        enum: ["economy", "premium_economy", "business", "first"],
        description: "Requested cabin class.",
      },
    },
    required: ["origin", "destination", "departure_date", "passengers"],
  },

  execute: async ({ origin, destination, departure_date, return_date, passengers, cabin_class }) => {
    // Call your existing flight search API.
    // The user's session handles authentication -- no token management needed.
    const params = new URLSearchParams({
      origin,
      destination,
      date: departure_date,
      pax: passengers,
      cabin: cabin_class || "economy",
      ...(return_date && { return: return_date }),
    });

    const response = await fetch(`/api/flights/search?${params}`);
    const results = await response.json();

    if (!results.flights.length) {
      return "No flights found for those parameters. Try different dates or nearby airports.";
    }

    // Return a human-readable summary the agent can present to the user.
    return results.flights
      .slice(0, 5)
      .map(
        (f) =>
          `${f.airline} ${f.flight_number}: departs ${f.departure_time}, arrives ${f.arrival_time}, ${f.stops === 0 ? "nonstop" : `${f.stops} stop(s)`}, ${f.price} USD`
      )
      .join("\n");
  },
});
What this does: The agent calls search_flights with typed, validated inputs. No UI interaction is required for the search step. The tool hits your existing API, the user's session handles auth, and the agent gets back a structured list of results it can summarize and present. The entire search chain that used to take multiple screenshot-click cycles happens in a single function call.
# How to Implement WebMCP Today
Here is the practical path from zero to a working WebMCP implementation.
// Step 1: Enabling the Chrome Flag for Local Development
Navigate to chrome://flags/#enable-webmcp-testing in Chrome, set it to Enabled, and relaunch. This gives you the WebMCP APIs in your local browser without needing an origin trial token.
// Step 2: Installing the Model Context Tool Inspector
Install the Model Context Tool Inspector extension from the Chrome Web Store. This lets you see which tools are registered on any page, call them manually, inspect their JSON Schemas, and verify that the output is formatted in a way the agent can understand. It sends prompts to gemini-3-flash-preview by default, so that you can test natural language invocations against your tools immediately.
// Step 3: Joining the Origin Trial for Production
If you want to test WebMCP on real traffic before it ships as a default browser feature, sign up for the Chrome origin trial. You get a token to include in your HTTP headers or a meta tag, and Chrome 149+ users will have WebMCP enabled on your origin.
// Step 4: Adding Your First Tool
Start with the Declarative API on your most common form search, contact, checkout. Add toolname and tooldescription. Open DevTools, go to Application, look for the WebMCP panel, and confirm your tool appears. That is the minimum viable implementation.
For dynamic tools, move to the Imperative API and register them in your page initialization code. Write descriptions for the agent, not for yourself, specificity matters more than brevity here. "Search flights between two airports for a given date" is useful. "Search" is not.
// Step 5: Handling Cross-Browser Support
For cross-browser support today, use the @mcp-b/global polyfill, which falls back gracefully on browsers that do not yet support WebMCP natively. Microsoft Edge 147 already ships native WebMCP support. Firefox has no public timeline yet. Safari has a WebKit bug-tracker entry but no commitment.
npm install @mcp-b/global

// At the top of your main entry file, before any tool registration
import "@mcp-b/global";

// After this import, document.modelContext is available in all browsers.
// In Chrome and Edge with native support, the polyfill is a no-op.
// In other browsers, it sets up a compatible surface that forwards tool calls
// through a fallback mechanism
What this does: The polyfill provides the document.modelContext interface in browsers that do not yet have native WebMCP. Your tool registration code stays the same across all environments. When Chrome ships WebMCP as a stable default feature, the polyfill steps aside automatically.
# Wrapping Up
The web was built for humans to browse. For the last two years, agents have been trying to use it the same way clicking, waiting, screenshotting, guessing. That was always a stopgap.
WebMCP is the infrastructure that makes the next version possible: websites that speak directly to agents, that say "here is what you can do here, here is what you need to pass in, here is what you will get back." No guessing. No fragile pixel-chasing. No breaking every time a CSS class changes.
The origin trial is open now. The cost of getting started is two HTML attributes on a form. The downside of moving early is essentially zero. The upside is being the site agents reach for by default when the ecosystem matures which, based on the spec co-authors and the browser adoption curve, is a question of when, not if.
If you want to start: enable the Chrome flag, install the inspector extension, read the official WebMCP docs, and annotate your first form this week. The window to be an early mover is open. It will not stay open forever.
Shittu Olumide is a software engineer and technical writer passionate about leveraging cutting-edge technologies to craft compelling narratives, with a keen eye for detail and a knack for simplifying complex concepts. You can also find Shittu on Twitter.