Deep Learning Development with Google Colab, TensorFlow, Keras & PyTorch
 Deep Learning Development with Google Colab, TensorFlow, Keras & PyTorch
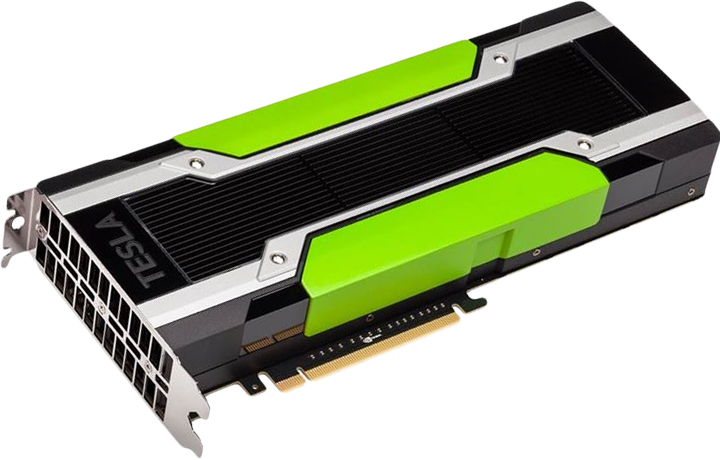
Now you can develop deep learning applications with Google Colaboratory - on the free Tesla K80 GPU - using Keras, Tensorflow and PyTorch.
By Fuat Beşer, Deep Learning Researcher
Hello! I will show you how to use Google Colab, Google’s free cloud service for AI developers. With Colab, you can develop deep learning applications on the GPU for free.
What is Google Colab?
Google Colab is a free cloud service and now it supports free GPU! You can:
- improve your Python programming language coding skills.
- develop deep learning applications using popular libraries such as Keras,
TensorFlow, PyTorch, and OpenCV.
The most important feature that distinguishes Colab from other free cloud services is: Colab provides GPU and is totally free. Detailed information about the service can be found on the faq page.
Getting Google Colab Ready to Use
Creating Folder on Google Drive
Since Colab is working on your own Google Drive, we first need to specify the folder we’ll work. I created a folder named “app” on my Google Drive. Of course, you can use a different name or choose the default Colab Notebooks folder instead of app folder.
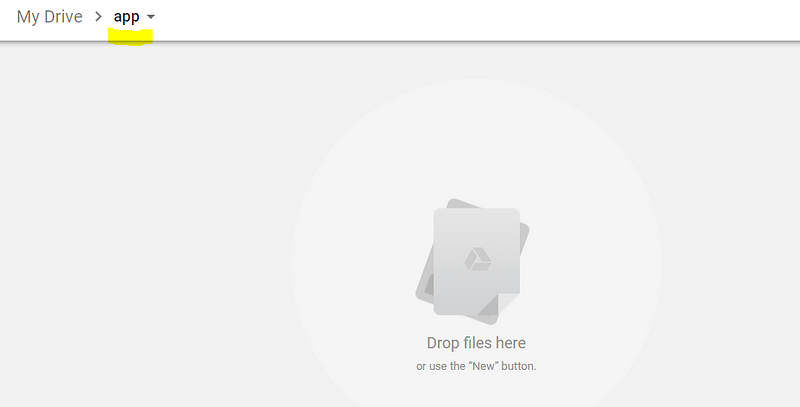
I created an empty “app” folder
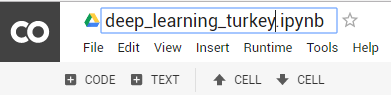
Creating New Colab Notebook
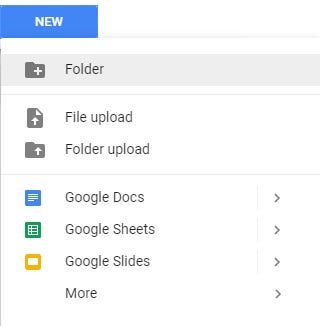
Create a new notebook via Right click > More > Colaboratory

Right click > More > Colaboratory
Rename notebook by means of clicking the file name.
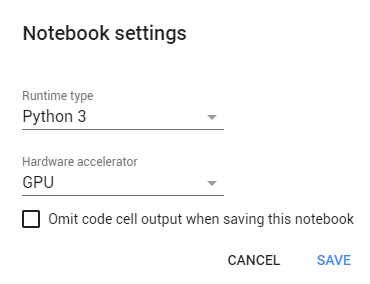
Setting Free GPU
It is so simple to alter default hardware (CPU to GPU or vice versa); just follow Edit > Notebook settings or Runtime>Change runtime type and select GPU as Hardware accelerator.
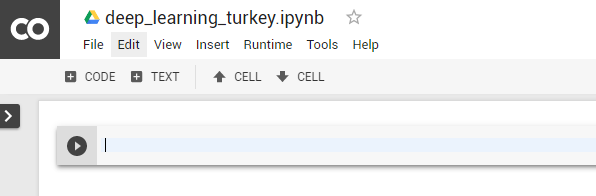
Running Basic Python Codes with Google Colab
Now we can start using Google Colab.
I will run some Basic Data Types codes from Python Numpy Tutorial.

It works as expected :) If you do not know Python which is the most popular programming language for AI, I would recommend this simple and clean tutorial.
Running or Importing .py Files with Google Colab
Run these codes first in order to install the necessary libraries and perform authorization.
!apt-get install -y -qq software-properties-common python-software-properties module-init-tools
!add-apt-repository -y ppa:alessandro-strada/ppa 2>&1 > /dev/null
!apt-get update -qq 2>&1 > /dev/null
!apt-get -y install -qq google-drive-ocamlfuse fuse
from google.colab import auth
auth.authenticate_user()
from oauth2client.client import GoogleCredentials
creds = GoogleCredentials.get_application_default()
import getpass
!google-drive-ocamlfuse -headless -id={creds.client_id} -secret={creds.client_secret} < /dev/null 2>&1 | grep URL
vcode = getpass.getpass()
!echo {vcode} | google-drive-ocamlfuse -headless -id={creds.client_id} -secret={creds.client_secret}
When you run the code above, you should see a result like this:
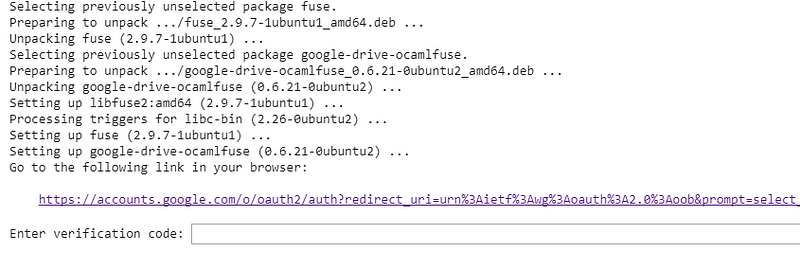
Click the link, copy verification code and paste it to text box.
After completion of the authorization process, mount your Google Drive:
!mkdir -p drive
!google-drive-ocamlfuse drive
install Keras:
!pip install -q keras
upload mnist_cnn.py file to app folder which is located on your Google Drive.
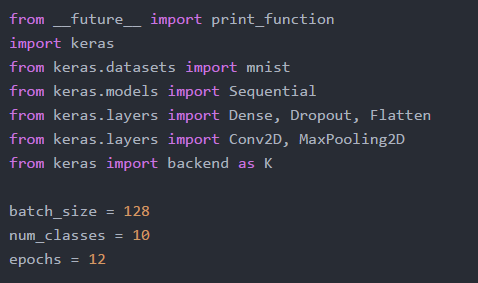
mnist_cnn.py file
Run the code below to train a simple convnet on the MNIST dataset.
!python3 drive/app/mnist_cnn.py
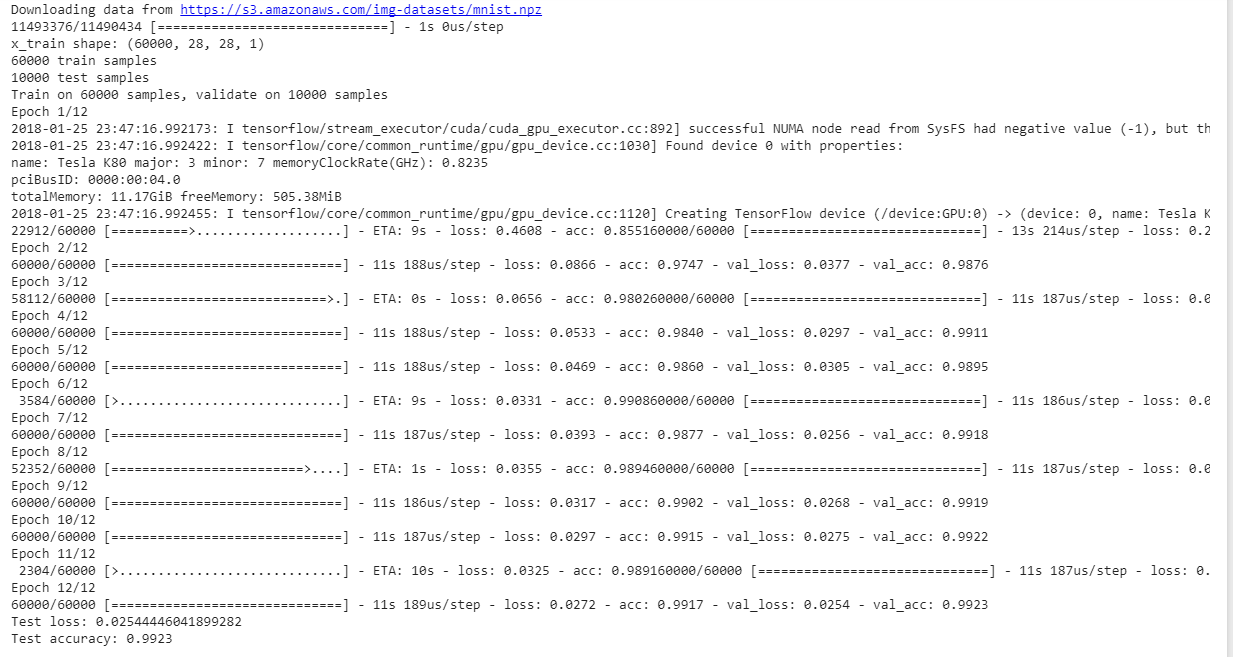
As you can see from the results, each epoch lasts only 11 seconds.
Download Titanic Dataset (.csv File) and Display First 5 Rows
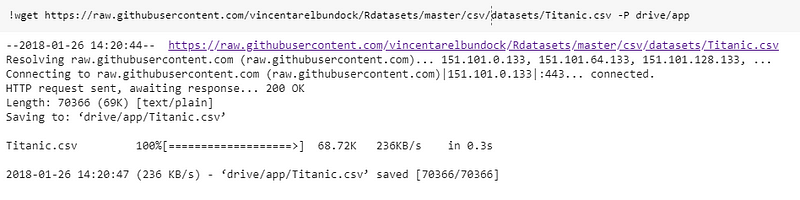
If you want to download .csv file from url to “app” folder, simply run:
!wget https://raw.githubusercontent.com/vincentarelbundock/Rdatasets/master/csv/datasets/Titanic.csv -P drive/app
You may upload your .csv files directly to “app” folder instead of wget method.
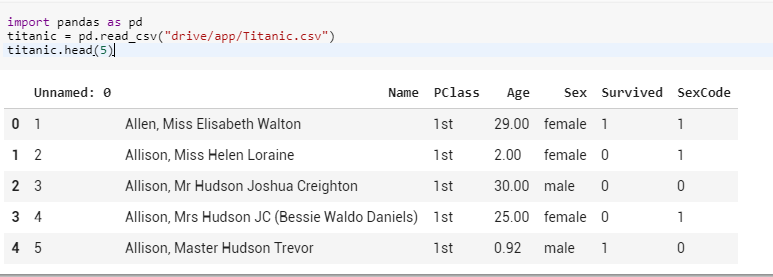
Read .csv file in “app” folder and display first 5 rows:
import pandas as pd
titanic = pd.read_csv(“drive/app/Titanic.csv”)
titanic.head(5)