Stop Running Jupyter Notebooks From Your Command Line
Instead, run your Jupyter Notebook as a stand alone web app.
By Ashton Sidhu, Data Scientist

Jupyter Notebook provides a great platform to produce human-readable documents containing code, equations, analysis, and their descriptions. Some even consider it a powerful development when combining it with NBDev. For such an integral tool, the out of the box start up is not the best. Each use requires starting the Jupyter web application from the command line and entering your token or password. The entire web application relies on that terminal window being open. Some might “daemonize” the process and then use nohup to detach it from their terminal, but that’s not the most elegant and maintainable solution.
Lucky for us, Jupyter has already come up with a solution to this problem by coming out with an extension of Jupyter Notebooks that runs as a sustainable web application and has built-in user authentication. To add a cherry on top, it can be managed and sustained through Docker allowing for isolated development environments.
By the end of this post we will leverage the power of JupyterHub to access a Jupyter Notebook instance which can be accessed without a terminal, from multiple devices within your network, and a more user friendly authentication method.
Prerequisites
A basic knowledge of Docker and the command line would be beneficial in setting this up.
I recommend doing this on the most powerful device you have and one that is turned on for most of the day, preferably all day. One of the benefits of this setup is that you will be able to use Jupyter Notebook from any device on your network, but have all the computation happen on the device we configure.
What is Jupyter Hub
JupyterHub brings the power of notebooks to groups of users. The idea behind JupyterHub was to scale out the use of Jupyter Notebooks to enterprises, classrooms, and large groups of users. Jupyter Notebook, however, is supposed to run as a local instance, on a single node, by a single developer. Unfortunately, there was no middle ground to have the usability and scalability of JupyterHub and the simplicity of running a local Jupyter Notebook. That is, until now.
JupyterHub has pre-built Docker images that we can utilize to spawn a single notebook on a whim, with little to no overhead in technical complexity. We are going to use the combination of Docker and JupyterHub to access Jupyter Notebooks from anytime, anywhere, at the same URL.
Architecture
The architecture of our JupyterHub server will consist of 2 services: JupyterHub and JupyterLab. JupyterHub will be the entry point and will spawn JupyterLab instances for any user. Each of these services will exist as a Docker container on the host.

Building the Docker Images
To build our at-home JupyterHub server we will use the pre-built Docker images of JupyterHub & JupyterLab.
Dockerfiles
The JupyterHub Docker image is simple.
FROM jupyterhub/jupyterhub:1.2# Copy the JupyterHub configuration in the container
COPY jupyterhub_config.py .# Download script to automatically stop idle single-user servers
COPY cull_idle_servers.py .# Install dependencies (for advanced authentication and spawning)
RUN pip install dockerspawner
We use the pre-built JupyterHub Docker Image and add our own configuration file to stop idle servers, cull_idle_servers.py. Lastly, we install additional packages to spawn JupyterLab instances via Docker.
Docker Compose
To bring everything together, let’s create a docker-compose.yml file to define our deployments and configuration.
version: '3'services:
  # Configuration for Hub+Proxy
  jupyterhub:
    build: .                # Build the container from this folder.
    container_name: jupyterhub_hub   # The service will use this container name.
    volumes:                         # Give access to Docker socket.
      - /var/run/docker.sock:/var/run/docker.sock
      - jupyterhub_data:/srv/jupyterlab
    environment:                     # Env variables passed to the Hub process.
      DOCKER_JUPYTER_IMAGE: jupyter/tensorflow-notebook
      DOCKER_NETWORK_NAME: ${COMPOSE_PROJECT_NAME}_default
      HUB_IP: jupyterhub_hub
    ports:
      - 8000:8000
    restart: unless-stopped  # Configuration for the single-user servers
  jupyterlab:
    image: jupyter/tensorflow-notebook
    command: echovolumes:
  jupyterhub_data:
The key environment variables to note are DOCKER_JUPYTER_IMAGE and DOCKER_NETWORK_NAME. JupyterHub will create Jupyter Notebooks with the images defined in the environment variable.For more information on selecting Jupyter images you can visit the following Jupyter documentation.
DOCKER_NETWORK_NAME is the name of the Docker network used by the services. This network gets an automatic name from Docker Compose, but the Hub needs to know this name to connect the Jupyter Notebook servers to it. To control the network name we use a little hack: we pass an environment variable COMPOSE_PROJECT_NAME to Docker Compose, and the network name is obtained by appending _default to it.
Create a file called .env in the same directory as the docker-compose.yml file and add the following contents:
COMPOSE_PROJECT_NAME=jupyter_hub
Stopping Idle Servers
Since this is our home setup, we want to be able to stop idle instances to preserve memory on our machine. JupyterHub has services that can run along side it and one of them being jupyterhub-idle-culler. This service stops any instances that are idle for a prolonged duration.
To add this servive, create a new file called cull_idle_servers.py and copy the contents of jupyterhub-idle-culler project into it.
Ensure `cull_idle_servers.py` is in the same folder as the Dockerfile.
To find out more about JupyterHub services, check out their official documentation on them.
Jupyterhub Config
To finish off, we need to define configuration options such, volume mounts, Docker images, services, authentication, etc. for our JupyterHub instance.
Below is a simple jupyterhub_config.py configuration file I use.
import os
import sysc.JupyterHub.spawner_class = 'dockerspawner.DockerSpawner'
c.DockerSpawner.image = os.environ['DOCKER_JUPYTER_IMAGE']
c.DockerSpawner.network_name = os.environ['DOCKER_NETWORK_NAME']
c.JupyterHub.hub_connect_ip = os.environ['HUB_IP']
c.JupyterHub.hub_ip = "0.0.0.0" # Makes it accessible from anywhere on your networkc.JupyterHub.admin_access = Truec.JupyterHub.services = [
    {
        'name': 'cull_idle',
        'admin': True,
        'command': [sys.executable, 'cull_idle_servers.py', '--timeout=42000']
    },
]c.Spawner.default_url = '/lab'notebook_dir = os.environ.get('DOCKER_NOTEBOOK_DIR') or '/home/jovyan/work'
c.DockerSpawner.notebook_dir = notebook_dir
c.DockerSpawner.volumes = {
    '/home/sidhu': '/home/jovyan/work'
}
Take note of the following configuration options:
'command': [sys.executable, 'cull_idle_servers.py', '--timeout=42000']: Timeout is the number of seconds until an idle Jupyter instance is shut down.c.Spawner.default_url = '/lab': Uses Jupyterlab instead of Jupyter Notebook. Comment out this line to use Jupyter Notebook.'/home/sidhu': '/home/jovyan/work': I mounted my home directory to the JupyterLab home directory to have access to any projects and notebooks I have on my Desktop. This also allows us to achieve persistence in the case we create new notebooks, they are saved to our local machine and will not get deleted if our Jupyter Notebook Docker container is deleted.
Remove this line if you do not wish to mount your home directory and do not forget to change sidhu to your user name.
Start the Server
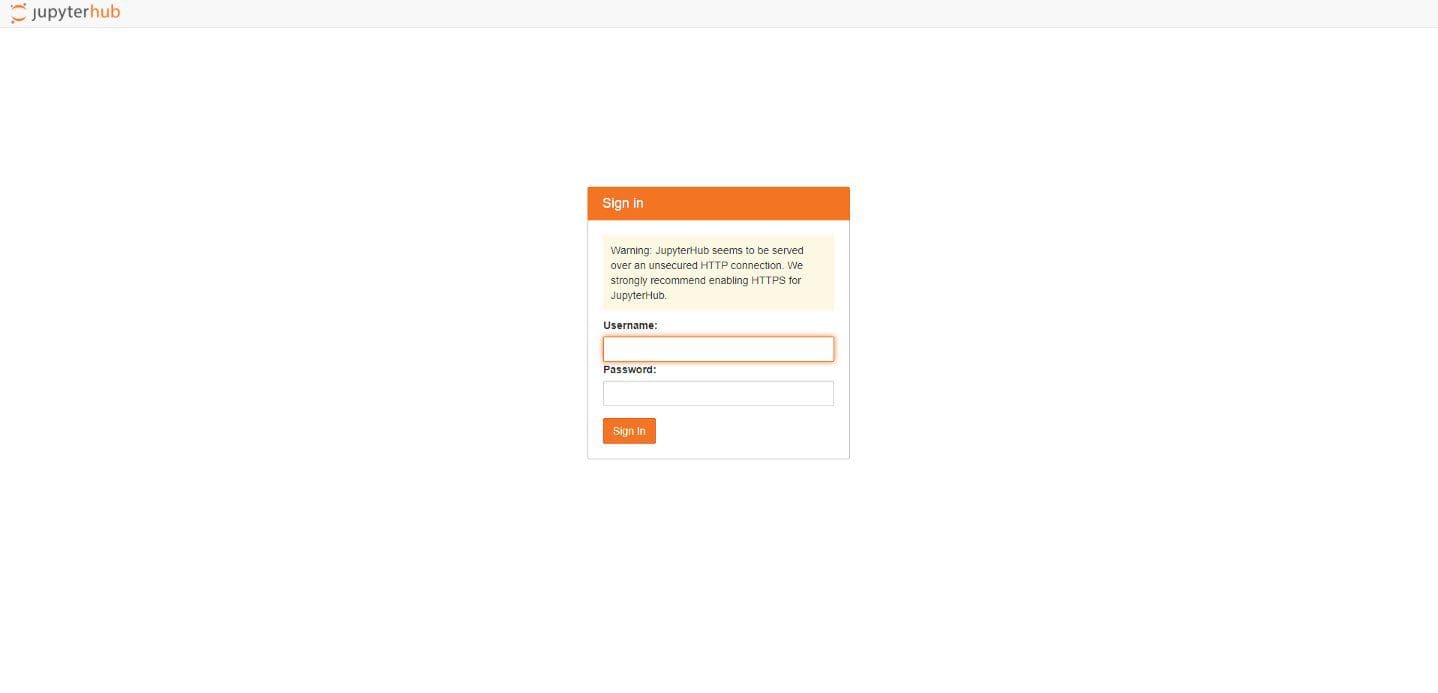
To start the server, simply run docker-compose up -d, navigate to localhost:8000 in your browser and you should be able to see the JupyterHub landing page.
To access it on other devices on your network such asva laptop, an iPad, etc, identify the IP of the host machine by running ifconfig on Unix machines & ipconfig on Windows.
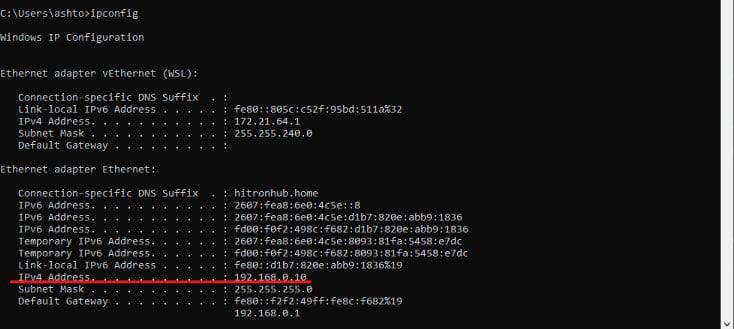
From your other device, navigate to the IP you found on port 8000: http://IP:8000 and you should see the JupyterHub landing page!
Authenticating
That leaves us with the last task of authenticating to the server. Since we did not set up a LDAP server or OAuth, JupyterHub will use PAM (Pluggable Authentication Module) authentication to authenticate users. This means JupyterHub uses the user name and passwords of the host machine to authenticate.
To make use of this, we will have to create a user on the JupyterHub Docker container. There are other ways of doing this such as having a script placed on the container and executed at container start up but we will do it manually as an exercise. If you tear down or rebuild the container you will have to recreate users.
I do not recommend hard coding user credentials into any script or Dockerfile.
1) Find the JupyterLab container ID: docker ps -a

2) “SSH” into the container: docker exec -it $YOUR_CONTAINER_ID bash
3) Create a user and follow the terminal prompts to create a password: useradd $YOUR_USERNAME
4) Sign in with the credentials and you’re all set!
You now have a ready to go Jupyter Notebook server that can be accessed from any device, in the palm of your hands! Happy Coding!
Feedback
I welcome any and all feedback about any of my posts and tutorials. You can message me on twitter or e-mail me at sidhuashton@gmail.com.
Bio: Ashton Sidhu (@ashtonasidhu) is a Data Scientist focused in the cyber security area. He is an engineer at heart and have both a Bachelors of Applied Science and Engineering as well as a Master’s of Engineering focused in Information Systems as well as Predictive and Perscriptive analytics.
Original. Reposted with permission.
Related:
- A Complete guide to Google Colab for Deep Learning
- Here are the Most Popular Python IDEs/Editors
- Netflix’s Polynote is a New Open Source Framework to Build Better Data Science Notebooks