
Image by Author
With the surging popularity of ReactJS in web development, there is an increasing demand for a similar framework in Python for building production-ready machine learning, AI, and data science applications. This is where ReactPy comes in, providing beginners, data scientists, and engineers the ability to create ReactJS-like applications in Python. ReactPy gives users a simple, declarative view framework that efficiently scales applications to complex use cases.
In this blog post, we will explore ReactPy, learning how to build a simple application and run it both within a web browser and a Jupyter Notebook. Specifically, we will cover:
- Running a ReactPy on a web browser using various backends API.
- Running ReactPy in Jupyter Notebook using Jupyter widgets.
What is ReactPy?
ReactPy is a Python library for building user interfaces without using JavaScript. The interfaces of ReactPy are built using components that offer a similar experience to that found in ReactJS.
Designed for simplicity, ReactPy has a gentle learning curve and a minimal API surface. This makes it accessible to those without web development experience, yet it can also scale to support sophisticated applications.
Setting Up
It is quite easy to install ReactPy by using pip:
pip install reactpy
After installing, try running a sample application using the script below.
python -c "import reactpy; reactpy.run(reactpy.sample.SampleApp)"
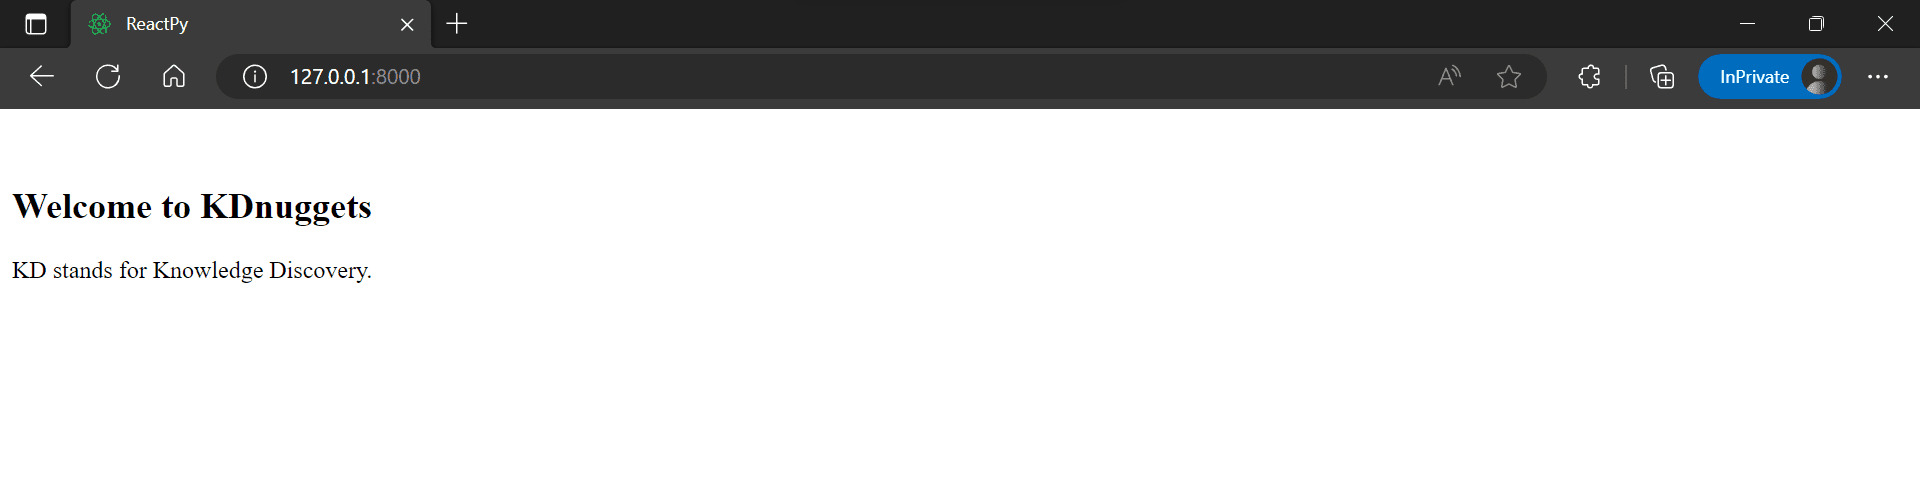
Our application with the starlette backend is running on a local address. Just copy it and paste it into the web browser.

As we can observe that ReactPy is running perfectly.

You can also install with the backend of your choice. In our case, we will install ReactPy with the fastapi backend.
pip install "reactpy[fastapi]"
Here is the list of the most popular Python backends that comes with ReactPy:
fastapi: https://fastapi.tiangolo.comflask: https://palletsprojects.com/p/flask/sanic: https://sanicframework.orgstarlette: https://www.starlette.io/tornado: https://www.tornadoweb.org/en/stable/
Running a ReactPy on Web Browser
We will now try to build a simple app with the heading 1 and a paragraph and run it on the default backend (starlette).
- When you create a new component function, try to add a magic function
@componnetabove a function. - After that, create a skeleton of a web page with different HTML elements like:
html.h1for heading 1.html.bfor bold.html.ulandhtml.lifor bullet points.html.imgfor images.
from reactpy import component, html, run


@component
def App():
    return html.section(
        html.h1("Welcome to KDnuggets"),
        html.p("KD stands for Knowledge Discovery."),
    )


run(App)
Save the above code in a reactpy_simple.py file and run the following command in the terminal.
python reactpy_simple.py
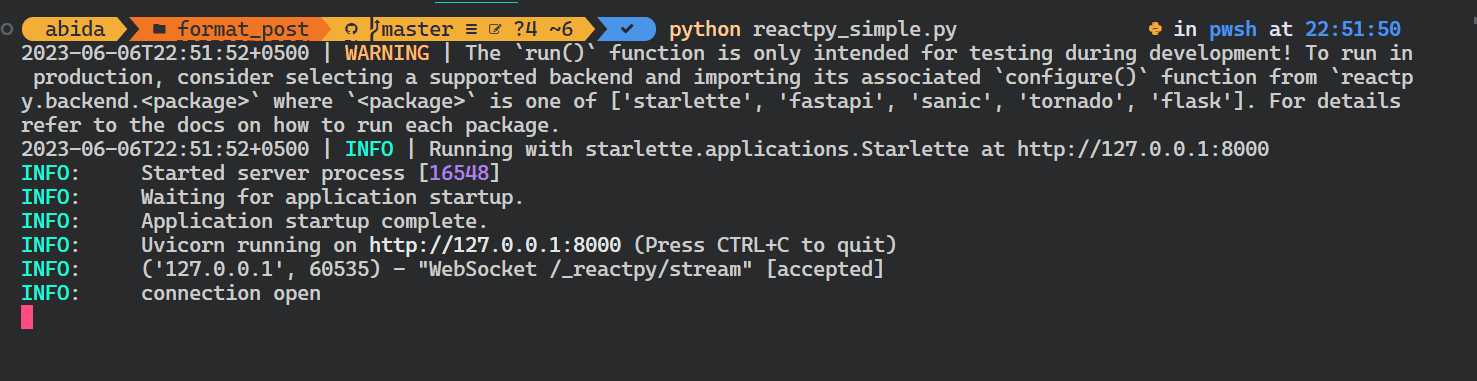
Our simple web application is running smoothly.
Let’s try to add more html components like image and list, and run the application using fastapi backend. For that:
- Import
FastAPIclass andconfigurefromreactpy.backend.fastapi - Create a component function called
Photo()and add all of the HTML elements. - Create an app object using
FastAPIobject and configure it with the ReactPy component.
from fastapi import FastAPI
from reactpy import component, html
from reactpy.backend.fastapi import configure


@component
def Photo():
    return html.section(
        html.h1("KDnuggets Blog Featured Image"),
        html.p(html.b("KD"), " stands for:"),
        html.ul(html.li("K: Knowledge"), html.li("D: Discovery")),
        html.img(
            {
                "src": "https://www.kdnuggets.com/wp-content/uploads/about-kdn-header.jpeg",
                "style": {"width": "50%"},
                "alt": "KDnuggets About Image",
            }
        ),
    )


app = FastAPI()
configure(app, Photo)
Save the file with the name reactpy_advance.py and run the application like you run any FastAPI application using unicorn.
uvicorn reactpy_advance:app

As we can observe, our app is running with additional HTML elements.

To confirm that it is running FastAPI as a backend, we will add /docs to the link.

Running ReactPy in Jupyter Notebook
Running and Testing ReactPy in Jupyter Notebook requires installing a Jupyter widget called reactpy_jupyter.
%pip install reactpy_jupyter
Before running anything, run the following command first to activate the widget.
import reactpy_jupyter
Or use %config magic function to register reactpy_jupyter as a permanent IPython extension in your config file.
%config InteractiveShellApp.extensions = ['reactpy_jupyter']
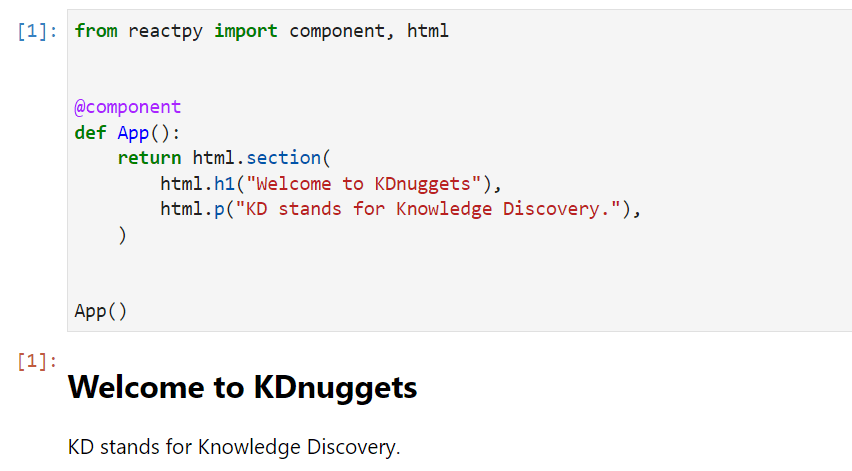
We will now run the ReactPy component in the Jupyter Notebook. Instead of using run(), we will directly run a component function.
from reactpy import component, html


@component
def App():
    return html.section(
        html.h1("Welcome to KDnuggets"),
        html.p("KD stands for Knowledge Discovery."),
    )


App()
Similarly to previous examples, we will run an advanced example by running Photo() function.
from reactpy import component, html


@component
def Photo():
    return html.section(
        html.h1("KDnuggets Blog Featured Image"),
        html.p(html.b("KD"), " stands for:"),
        html.ul(html.li("K: Knowledge"), html.li("D: Discovery")),
        html.img(
            {
                "src": "https://www.kdnuggets.com/wp-content/uploads/about-kdn-header.jpeg",
                "style": {"width": "50%"},
                "alt": "KDnuggets About Image",
            }
        ),
    )


Photo()

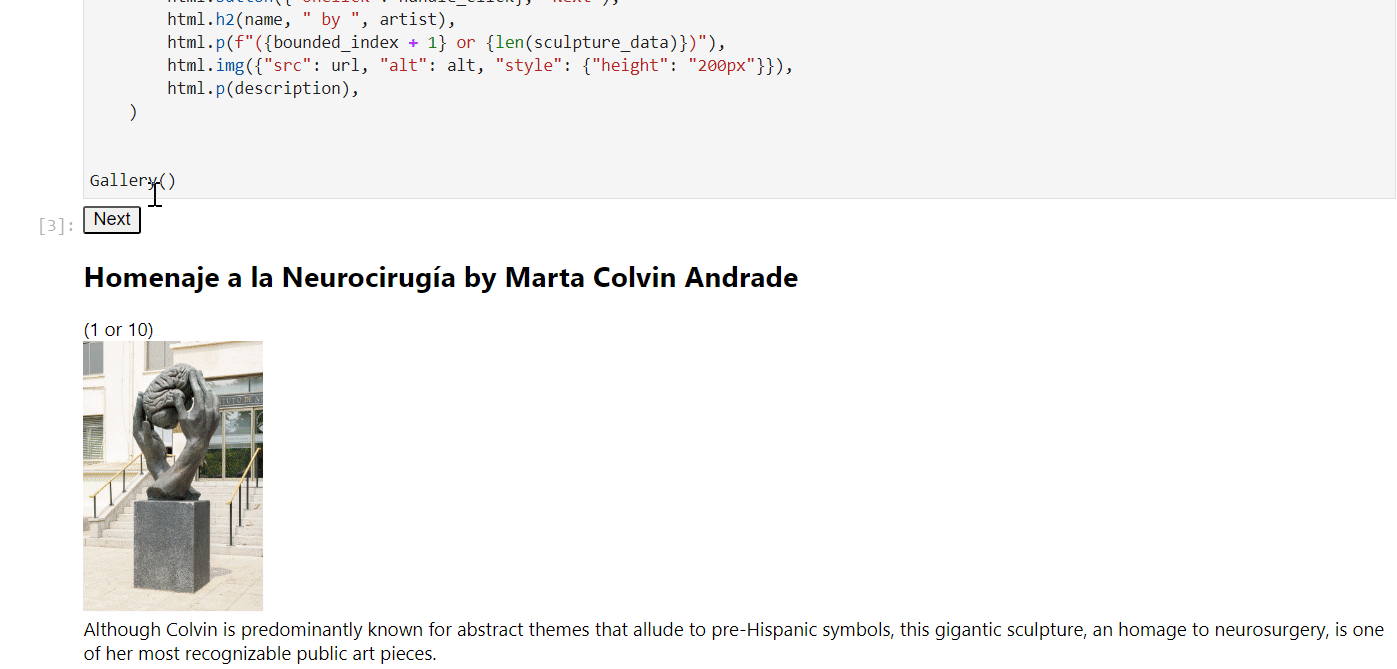
We can also create an interactive app using buttons and input, as shown below. You can read ReactPy documentation for creating the user interface, interactivity, managing state, API hooks, and escape hatches.
Gif from ReactPy on Binder
Conclusion
In summary, this blog post has provided an introduction to ReactPy, demonstrating how to create simple ReactPy applications. By running ReactPy within a web browser using different API backends as well as within Jupyter Notebooks using Jupyter widgets, we have seen the flexibility of ReactPy in allowing developers to build applications for both web and notebook environments.
ReactPy shows promise as a Python library for creating reactive user interfaces that can reach a wide audience. With continued development, ReactPy may become a compelling alternative to JavaScript-based React for machine learning and AI Python applications.
Abid Ali Awan (@1abidaliawan) is a certified data scientist professional who loves building machine learning models. Currently, he is focusing on content creation and writing technical blogs on machine learning and data science technologies. Abid holds a Master's degree in Technology Management and a bachelor's degree in Telecommunication Engineering. His vision is to build an AI product using a graph neural network for students struggling with mental illness.