Deploying Your Machine Learning Model to Production in the Cloud
Learn a simple way to have a live model hosted on AWS.
Image by Editor
AWS, or Amazon Web Services, is a cloud computing service used in many businesses for storage, analytics, applications, deployment services, and many others. It’s a platform utilizes several services to support business in a serverless way with pay-as-you-go schemes.
Machine learning modeling activity is also one of the activities that AWS supports. With several services, modeling activities can be supported, such as developing the model to making it into production. AWS has shown versatility, which is essential for any business that needs scalability and speed.
This article will discuss deploying a machine learning model in the AWS cloud into production. How could we do that? Let’s explore further.
Preparation
Before you start this tutorial, you need to create an AWS account, as we would need them to access all the AWS services. I assume that the reader would use the free tier to follow this article. Additionally, I assume the reader already knows how to use Python programming language and has basic knowledge of machine learning. Also, we will focus on the model deployment part and will not concentrate on other aspects of data science activity, such as data preprocessing and model evaluation.
With that in mind, we will start our journey of deploying your machine learning model in the AWS Cloud services.
Model Deployment on AWS
In this tutorial, we will develop a machine-learning model to predict churn from the given data. The training dataset is acquired from Kaggle, which you can download here.
After we have acquired the dataset, we would create an S3 bucket to store the dataset. Search the S3 in the AWS services and make the bucket.
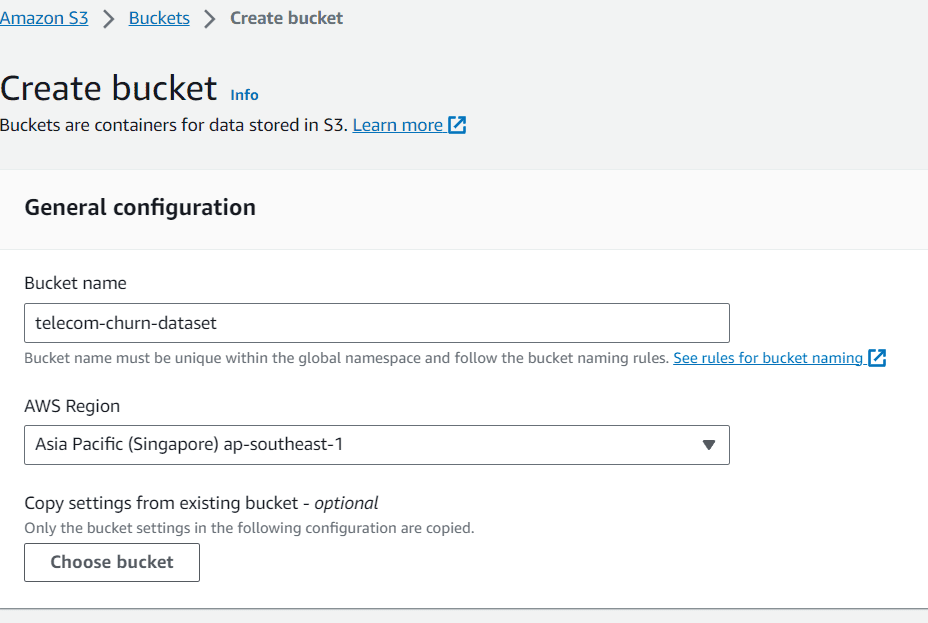
Image by Author
In this article, I named the bucket “telecom-churn-dataset” and located in Singapore. You can change them if you want, but let’s go with this one for now.
After you have finished creating the bucket and uploading the data into your bucket, we will go to the AWS SageMaker service. In this service, we will use the Studio as our working environment. If you have never used the Studio, let’s create a domain and user before proceeding further.
First, choose the Domains within the Amazon SageMaker Admin configurations.
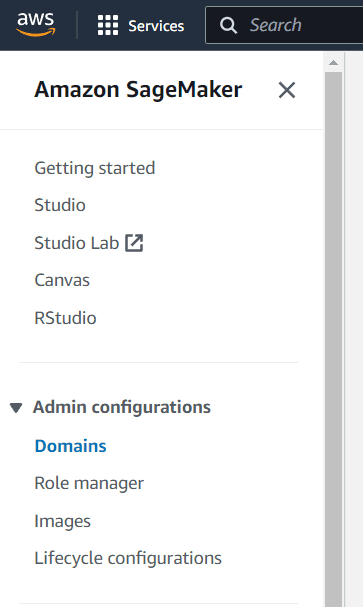
Image by Author
In the Domains, you would see a lot of buttons to select. In this screen, select the Create domain button.
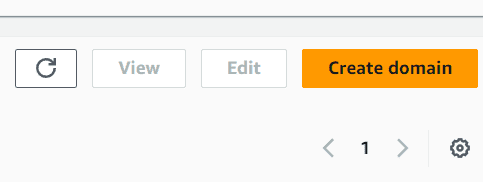
Image by Author
Choose the quick setup if you want to speed up the creation process. After it’s finished, you should see a new domain created in the dashboard. Select the new domain you just created and then click the Add user button.
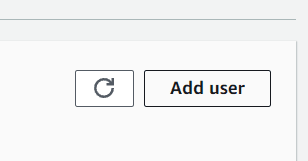
Image by Author
Next, you should name the user profile according to your preferences. For the execution role, you can leave it on default for now, as it’s the one that was created during the Domain creation process.

Image by Author
Just click next until the canvas setting. In this section, I turn off several settings that we don’t need, such as Time Series Forecasting.
After everything is set, go to the studio selection and select the Open studio button with the user name you just created.
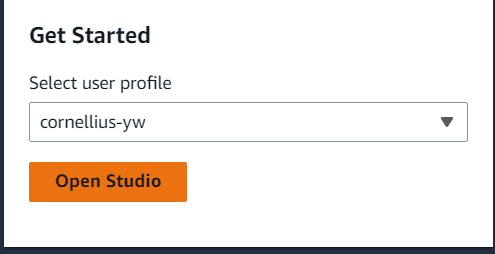
Image by Author
Inside the Studio, navigate to the sidebar that looks like a folder icon and create a new notebook there. We can let them by default, like the image below.
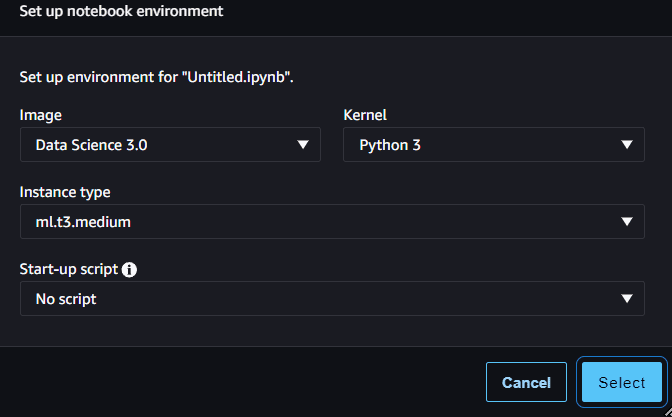
Image by Author
With the new notebook, we would work to create a churn prediction model and deploy the model into API inferences that we can use in production.
First, let’s import the necessary package and read the churn data.
import boto3
import pandas as pd
import sagemaker

sagemaker_session = sagemaker.Session()
role = sagemaker.get_execution_role()

df = pd.read_csv('s3://telecom-churn-dataset/telecom_churn.csv')

Image by Author
Next, we would split the data above into training data and testing data with the following code.
from sklearn.model_selection import train_test_split

train, test = train_test_split(df, test_size = 0.3, random_state = 42)
We set the test data to be 30% of the original data. With our data split, we would upload them back into the S3 bucket.
bucket = 'telecom-churn-dataset'

train.to_csv(f's3://{bucket}/telecom_churn_train.csv', index = False)
test.to_csv(f's3://{bucket}/telecom_churn_test.csv', index = False)
You can see the data inside your S3 bucket, which currently consists of three different datasets.
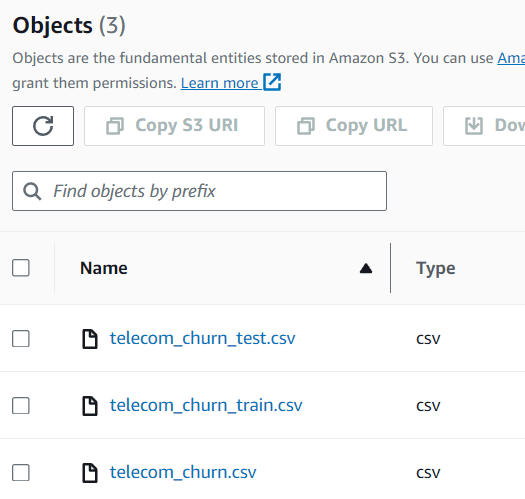
Image by Author
With our dataset ready, we would now develop a churn prediction model and deploy them. In the AWS, we often use a script training method for machine learning training. That’s why we would develop a script before starting the training.
For the next step, we need to create an additional Python file, which I called train.py, in the same folder.
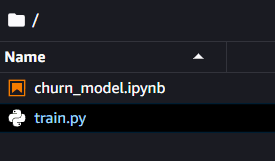
Image by Author
Inside this file, we would set our model development process to create the churn model. For this tutorial, I would adopt some code from Ram Vegiraju.
First, we would import all the necessary packages for developing the model.
import argparse
import os
import io
import boto3
import json
import pandas as pd

from sklearn.ensemble import RandomForestClassifier
from sklearn.metrics import accuracy_score
import joblib
Next, we would use the parser method to control the variable that we can input into our training process. The overall code that we would put in our script to train our model is in the code below.
if __name__ == '__main__':

    parser = argparse.ArgumentParser()

    parser.add_argument('--estimator', type=int, default=10)
    parser.add_argument('--sm-model-dir', type=str, default=os.environ.get('SM_MODEL_DIR'))
    parser.add_argument('--model_dir', type=str)
    parser.add_argument('--train', type=str, default=os.environ.get('SM_CHANNEL_TRAIN'))

    args, _ = parser.parse_known_args()

    estimator = args.estimator
    model_dir = args.model_dir
    sm_model_dir = args.sm_model_dir
    training_dir = args.train

    s3_client = boto3.client('s3')
    bucket = 'telecom-churn-dataset'

    obj = s3_client.get_object(Bucket=bucket, Key='telecom_churn_train.csv')
    train_data = pd.read_csv(io.BytesIO(obj['Body'].read()))

    obj = s3_client.get_object(Bucket=bucket, Key='telecom_churn_test.csv')
    test_data = pd.read_csv(io.BytesIO(obj['Body'].read()))

    X_train = train_data.drop('Churn', axis =1)
    X_test = test_data.drop('Churn', axis =1)

    y_train = train_data['Churn']
    y_test = test_data['Churn']

    rfc = RandomForestClassifier(n_estimators=estimator)
    rfc.fit(X_train, y_train)
    y_pred = rfc.predict(X_test)

    print('Accuracy Score: ',accuracy_score(y_test, y_pred))

    joblib.dump(rfc, os.path.join(args.sm_model_dir, "rfc_model.joblib"))
Lastly, we need to put four different functions that SageMaker requires to make inferences: model_fn, input_fn, output_fn, and predict_fn.
#Deserialized model to load them

def model_fn(model_dir):
    model = joblib.load(os.path.join(model_dir, "rfc_model.joblib"))
    return model
#The request input of the application
def input_fn(request_body, request_content_type):
    if request_content_type == 'application/json':
        request_body = json.loads(request_body)
        inp_var = request_body['Input']
        return inp_var
    else:
        raise ValueError("This model only supports application/json input")
#The prediction functions
def predict_fn(input_data, model):
    return model.predict(input_data)

#The output function
def output_fn(prediction, content_type):
    res = int(prediction[0])
    resJSON = {'Output': res}
    return resJSON
With our script ready, we would run the training process. In the next step, we would pass the script we created above into the SKLearn estimator. This estimator is a Sagemaker object that would handle the entire training process, and we would only need to pass all the parameters similar to the code below.
from sagemaker.sklearn import SKLearn

sklearn_estimator = SKLearn(entry_point='train.py',
                          role=role,
                          instance_count=1,
                          instance_type='ml.c4.2xlarge',
                          py_version='py3',
                          framework_version='0.23-1',
                          script_mode=True,
                          hyperparameters={
                              'estimator': 15})
sklearn_estimator.fit()
If the training is successful, you will end up with the following report.

Image by Author
If you want to check the Docker image for the SKLearn training and your model artifact location, you can access them using the following code.
model_artifact = sklearn_estimator.model_data
image_uri = sklearn_estimator.image_uri

print(f'The model artifact is saved at: {model_artifact}')
print(f'The image URI is: {image_uri}')
With the model in place, we would then deploy the model into an API endpoint that we can use for prediction. To do that, we can use the following code.
import time

churn_endpoint_name='churn-rf-model-'+time.strftime("%Y-%m-%d-%H-%M-%S", time.gmtime())

churn_predictor=sklearn_estimator.deploy(initial_instance_count=1,instance_type='ml.m5.large',endpoint_name=churn_endpoint_name)
If the deployment is successful, the model endpoint is created, and you can access it to create a prediction. You can also see the endpoint in the Sagemaker dashboard.
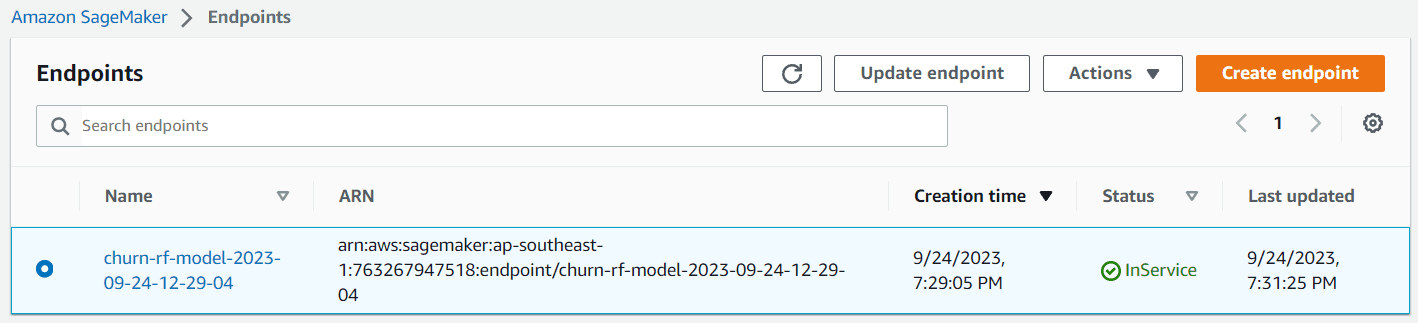
Image by Author
You can now make predictions with this endpoint. To do that, you can test the endpoint with the following code.
client = boto3.client('sagemaker-runtime')
content_type = "application/json"

#replace with your intended input data
request_body = {"Input": [[128,1,1,2.70,1,265.1,110,89.0, 9.87,10.0]]}

#replace with your endpoint name
endpoint_name = "churn-rf-model-2023-09-24-12-29-04"
#Data serialization
data = json.loads(json.dumps(request_body))
payload = json.dumps(data)

#Invoke the endpoint
response = client.invoke_endpoint(
    EndpointName=endpoint_name,
    ContentType=content_type,
    Body=payload)
result = json.loads(response['Body'].read().decode())['Output']
result
Congratulation. You have now successfully deployed your model in the AWS Cloud. After you have finished the testing process, don’t forget to clean up the endpoint. You can use the following code to do that.
from sagemaker import Session

sagemaker_session = Session()
sagemaker_session.delete_endpoint(endpoint_name='your-endpoint-name')
Don’t forget to shut down the instance you use and clean up the S3 storage if you don’t need it anymore.
For further reading, you can read more about the SKLearn estimator and Batch Transform inferences if you prefer to not have an endpoint model.
Conclusion
AWS Cloud platform is a multi-purpose platform that many companies use to support their business. One of the services often used is for data analytic purposes, especially model production. In this article, we learn to use AWS SageMaker and how to deploy the model into the endpoint.
Cornellius Yudha Wijaya is a data science assistant manager and data writer. While working full-time at Allianz Indonesia, he loves to share Python and Data tips via social media and writing media.