How to Self-Host n8n on Docker in 5 Simple Steps
This tutorial will guide you through the complete process of self-hosting n8n on Docker in just 5 simple steps, with detailed explanations and code samples, regardless of your technical background.
Image by Author
# Introduction
Automation has become the strength of well-structured business operations. Companies worldwide are automating repetitive tasks, combining multiple applications, and building intelligent workflows to save time and minimize manual errors. n8n is a powerful, open-source workflow automation tool that's revolutionizing how teams approach automation, and it's completely free to host yourself.
Unlike expensive software as a service (SaaS) solutions like Zapier, n8n gives you full control over your automation infrastructure. When you combine n8n with Docker, you get a containerized, scalable, and portable automation platform that can be deployed anywhere — from your local machine to production servers on cloud providers such as Amazon Web Services (AWS) and Microsoft Azure.
This tutorial will guide you through the complete process of self-hosting n8n on Docker in just five simple steps, with detailed explanations and code samples, regardless of your technical background.
# Understanding n8n
n8n (pronounced "n-eight-n") is a fair-code licensed workflow automation platform that connects virtually any application with an API to any other. According to the official n8n documentation, n8n helps you connect apps with little to no code, making it accessible to both technical and non-technical users.
Features of n8n:
- Connecting with popular services like Slack, Google Sheets, Airtable, HubSpot, Salesforce, GitHub, and thousands more
- Adding Python code directly in workflows for complex logic
- Using a drag-and-drop interface that makes building automations intuitive
- Built-in LangChain support for artificial intelligence (AI) powered workflows and intelligent automation
- Choosing to host on your own servers or use n8n Cloud
- Accessing a free community edition with powerful open-source capabilities
With n8n, you can automate tasks like:
- Syncing data between multiple tools automatically
- Processing incoming webhooks from external services
- Sending notifications to Slack, email, and other platforms
- Enriching customer data from external APIs
- Creating intelligent workflows using AI agents
- Running scheduled tasks (cron jobs) on any frequency you need
# Understanding Docker
Docker is a containerization platform that packages your entire application, including all dependencies, libraries, and configuration, into a lightweight, portable container. Think of a Docker container as a self-contained box that contains everything n8n needs to run, ensuring consistency across different machines and environments.
Why Docker is perfect for n8n:
Docker runs the same container on your laptop, a dedicated server, or cloud infrastructure. n8n runs independently without affecting other applications on your server. You can upgrade n8n with a single command without worrying about breaking dependencies. You can also run multiple n8n instances or worker containers for handling complex workflows, ensuring everyone on your team runs the exact same environment.
# Step 1: Installing Docker and Docker Compose
This first step is important. Docker must be installed on your machine before you can run n8n in a container. Before installation, it's important to understand the difference between Docker and Docker Compose. Docker is the core containerization engine that runs containers. Docker Compose is a tool that orchestrates multiple containers and simplifies configuration through YAML files.
Docker Desktop is available for Windows, macOS, and Linux and includes both Docker and Docker Compose, making installation straightforward.
// Downloading Docker Desktop
→ For Windows 10/11
- Visit the Docker official website
- Click "Download for Windows"
- Choose your processor type: Intel/AMD processors or Apple Silicon (M1/M2/M3)
→ Windows Installation
- Double-click the
Docker Desktop Installer.exefile you downloaded - A prompt will appear asking for permission; click "Yes"
- Click "Next" and follow the prompts
- This process may take several minutes
- Click "Finish"
- Restart your computer to apply the changes
After a restart, you should see the Docker whale icon in your system tray.
Note for Windows: Docker Desktop requires either Hyper-V or Windows Subsystem for Linux 2 (WSL2) to be enabled. The installer will automatically enable these features, but your computer must support virtualization. If you have an older Windows 10 Home edition, you may need to upgrade to Windows 10 Pro for Hyper-V support.
// Verifying Docker Installation
Regardless of your operating system, verify that Docker is installed correctly by opening a terminal (or Command Prompt on Windows) and running:
docker --version
Expected Output:
Docker version 28.5.2, build ecc6942
Also, verify Docker Compose:
docker compose version
Expected Output:
Docker Compose version v2.40.3-desktop.1
If you see version numbers, Docker is installed correctly. If you see "command not found," Docker may not be in your system PATH. Restart your terminal or computer and try again.
# Step 2: Preparing Your n8n Directory Structure
Now that Docker is ready, we need to create a home for n8n on your computer. This step involves creating folders where n8n will store its data, configuration files, and workflow information.
Docker containers run in isolated environments. To access files on your host machine and persist data so your workflows don't disappear when the container restarts, we need to create volume mount directories on your computer that the container can access. Think of it like creating a shared folder between your computer and the Docker container.
// Creating the n8n Project Directory
Open your terminal or command prompt and run these commands:
Navigate to a convenient location; we'll use the user's home directory:
cd ~
Create an n8n project directory:
mkdir n8n-docker
Navigate into the directory:
cd n8n-docker
Verify you're in the right place:
pwd
This should show your n8n-docker path. You should see a folder called n8n-docker in your home directory. This will be your project root where all n8n configuration and data live.
// Creating Data Storage Directories
Inside the n8n-docker folder, we need to create subdirectories for data persistence:
Create the data directory structure:
mkdir data
mkdir data\workflows
Verify that directories were created:
ls
The directory structure serves the following purposes:
data/is the main storage for n8n's database and configurationdata/workflows/is where your workflow files are storeddata/credentials/is where encrypted credentials for integrations are stored
You have now created the main n8n-docker project directory and set up subdirectories for data persistence with proper permissions for data access.
# Step 3: Creating Your Docker Compose Configuration File
Docker Compose uses YAML, which is a human-readable data format. YAML uses indentation (spaces) to show relationships, so indentation must be exact. Think of it like Python code where indentation levels define the structure.
// Creating the docker-compose.yml File
In your n8n-docker directory, follow the steps below to create a new file called docker-compose.yml.
Create an empty file:
New-Item -Path "docker-compose.yml" -ItemType File
Open it with Notepad (or your favorite text editor):
notepad docker-compose.yml
Alternatively, for Linux users, create and open the file with:
nano docker-compose.yml
If you're using nano, paste the content below, then press Ctrl+X, then Y, then Enter to save.
// Adding the Complete Docker Compose Configuration
Paste this content into your docker-compose.yml file:
services:
  n8n:
    image: n8nio/n8n:latest
    container_name: n8n
    restart: always
    ports:
      - "5678:5678"
    environment:
      - N8N_HOST=0.0.0.0
      - N8N_PORT=5678
      - NODE_ENV=production
      - N8N_BASIC_AUTH_ACTIVE=true
      - N8N_BASIC_AUTH_USER=admin
      - N8N_BASIC_AUTH_PASSWORD=changeme123
      - N8N_ENCRYPTION_KEY=your-secure-encryption-key
    volumes:
      - ./data:/home/node/.n8n
    networks:
      - n8n-network
    healthcheck:
      test: ["CMD", "wget", "--quiet", "--tries=1", "--spider", "http://localhost:5678/healthz"]
      interval: 30s
      timeout: 10s
      retries: 3
      start_period: 40s

networks:
  n8n-network:
    driver: bridge
Let's break down what each section of this configuration does:
services:
  n8n:
This declares that we're defining a service called "n8n". This is the name used to reference this container.
image: n8nio/n8n:latest
container_name: n8n
The image instruction uses the official n8n image from Docker Hub. The :latest tag downloads the newest version available, while container_name names our running container "n8n".
Restart Policy
restart: always
This tells Docker to automatically restart the n8n container if it crashes or if the server reboots.
Port Mapping
ports:
  - "5678:5678"
This is crucial for accessing n8n from your browser:
- Left number (5678): The port on your host computer
- Right number (5678): The port inside the container
This means when you access http://localhost:5678 on your computer, it connects to port 5678 inside the n8n container.
Environment Variables
environment:
  - N8N_HOST=0.0.0.0
  - N8N_PORT=5678
  - NODE_ENV=production
  - N8N_BASIC_AUTH_ACTIVE=true
  - N8N_BASIC_AUTH_USER=admin
  - N8N_BASIC_AUTH_PASSWORD=changeme123
  - N8N_ENCRYPTION_KEY=your-secure-encryption-key
Environment variables configure n8n's behavior:
N8N_HOST: Which network interface n8n listens on.0.0.0.0means "listen on all available interfaces."N8N_PORT: The port n8n runs on inside the container.NODE_ENV: Set toproductionfor security hardening and performance optimization.N8N_BASIC_AUTH_ACTIVE: Enables basic username/password authentication.N8N_BASIC_AUTH_USER: Username for accessing the n8n interface.N8N_BASIC_AUTH_PASSWORD: Password for accessing the n8n interface (Change this!).N8N_ENCRYPTION_KEY: Secret key for encrypting credentials and sensitive data.
Important security note: Change
N8N_BASIC_AUTH_PASSWORDandN8N_ENCRYPTION_KEYto strong values! These are credentials that protect your automation workflows and integrations.
Example secure values:
N8N_BASIC_AUTH_PASSWORD=Pr0t3ctY0urN8n!D0sH3y7k@Secure
N8N_ENCRYPTION_KEY=aB3xC9dE2fG4hI7jK5lM8nO1pQ4rS6tU9vW2xY5z$#@!%&
Volume Mounting:
volumes:
  - ./data:/home/node/.n8n
This creates a bridge between your computer and the container. The left side (./data) is the directory on your host machine, and the right side (/home/node/.n8n) is the directory inside the container where n8n stores all its data.
Why is this important?
If the container is deleted or updated, your workflows and data persist in the ./data folder on your computer.
networks:
  - n8n-network
This places the container on a Docker network, which is useful if you add more services later, like a dedicated database.
healthcheck:
  test: ["CMD", "wget", "--quiet", "--tries=1", "--spider", "http://localhost:5678/healthz"]
  interval: 30s
  timeout: 10s
  retries: 3
  start_period: 40s
This tells Docker to periodically check if n8n is still running. It prevents Docker from thinking n8n has crashed during a normal startup.
# Step 4: Creating an Environment File
While the Docker Compose file above works, using a separate environment file is a best practice for managing sensitive information. In the same n8n-docker directory, create a file named .env.
New-Item -Path ".env" -ItemType File
Open it with Notepad or your integrated development environment (IDE):
notepad .env
// Adding Your Configuration Variables
Paste this content into your .env file:
# n8n Configuration
N8N_HOST=0.0.0.0
N8N_PORT=5678
NODE_ENV=production

# Authentication
N8N_BASIC_AUTH_ACTIVE=true
N8N_BASIC_AUTH_USER=admin
N8N_BASIC_AUTH_PASSWORD=your_secure_password_here_change_this
N8N_ENCRYPTION_KEY=your_encryption_key_here_change_this
// Updating Docker Compose to Use the .env File
Modify your docker-compose.yml to reference the .env file. Replace the environment: section with:
env_file:
  - .env
// Understanding the .env File Advantages
Using a .env file provides several benefits: sensitive data is not stored directly in orchestration files, and you can change configurations without modifying the main docker-compose.yml.
If you're using Git version control, never commit your .env file to the repository. Create a .gitignore file in your project:
New-Item -Path ".gitignore" -ItemType File
Add .env and data/ to this file to ensure sensitive data and local database files are ignored by Git.
# Step 5: Launching n8n and Accessing It
Open your terminal, navigate to your n8n-docker directory, and run the following command to start n8n in the background:
docker compose up -d
The -d command runs in "detached" mode. If this is your first time, Docker will download the n8n image, which may take a couple of minutes.
// Monitoring n8n Startup
Check the logs to see if n8n started successfully:
docker compose logs -f n8n
// Accessing n8n in Your Browser
Open your web browser and navigate to http://localhost:5678. You will see a setup screen; enter the credentials you set in your .env file. After logging in, you'll see the n8n workflow editor.
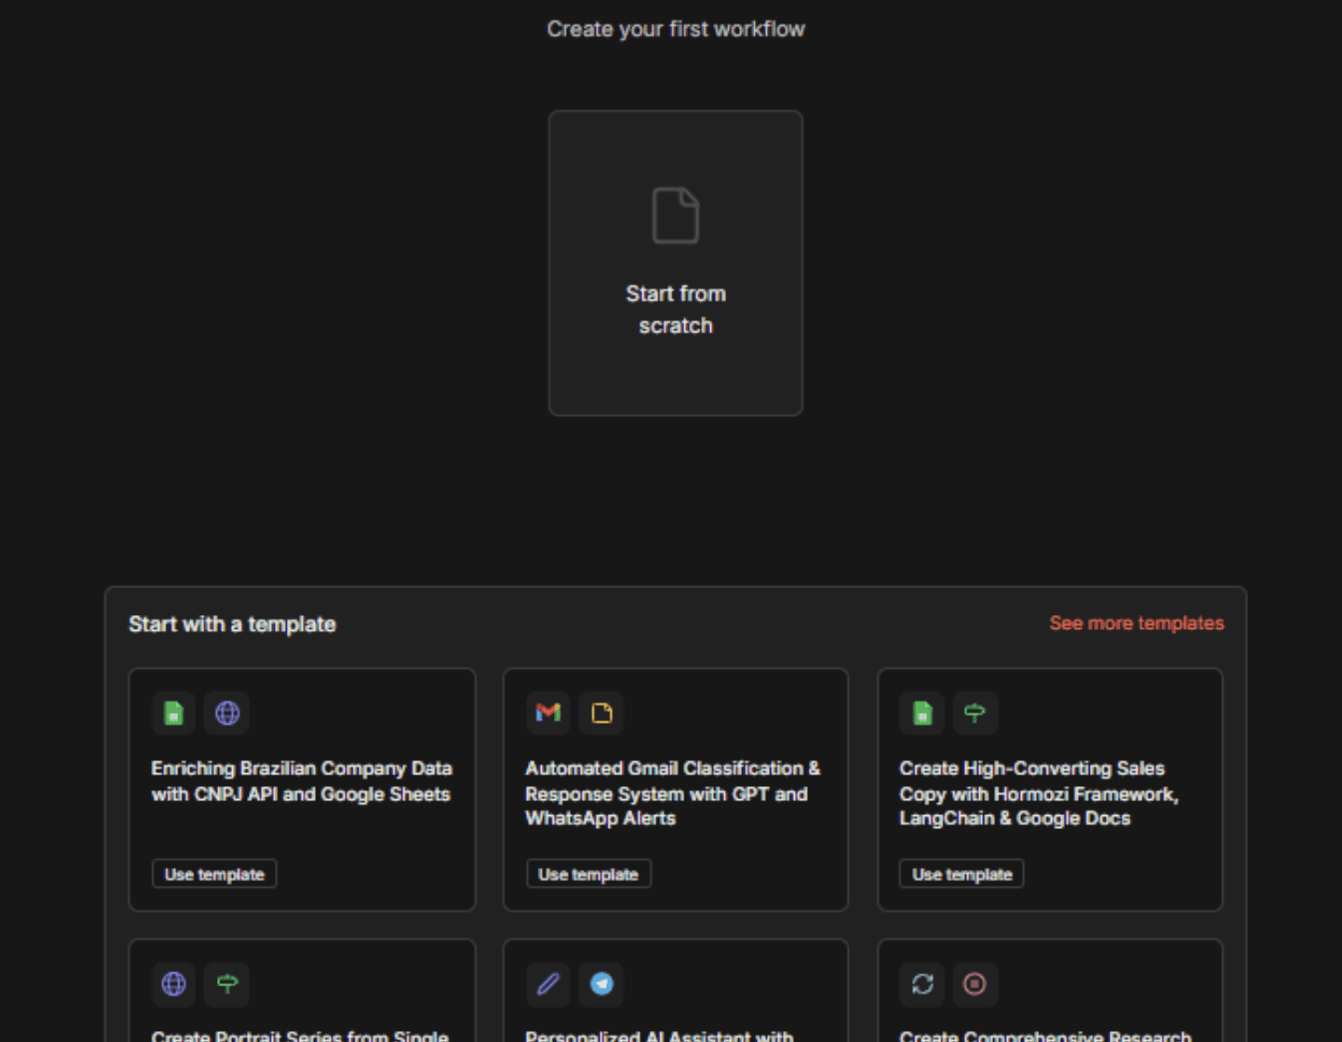
Image by Author
The n8n interface contains all available nodes (Slack, Gmail, HTTP requests, logic nodes, etc.), a workflow area for building automations, and configuration options for selected nodes.
To verify your n8n container is healthy, run:
docker ps
# Managing Your n8n Container
Now that n8n is running, here are the important commands you'll use regularly:
- Viewing Live Logs: See what's happening inside the container in real-time.
docker compose logs -f n8n
PressCtrl+Cto exit. - Stopping n8n: Gracefully stop the container while preserving your data.
docker compose down - Updating n8n: Pull the newest n8n image and restart.
docker compose pull n8n
docker compose up -d
# Building Your First Workflow
Let's create a simple workflow that listens for incoming webhook requests, extracts data, and sends a message to Slack.
In the n8n interface:
- Click the "+" button to create a new workflow
- Click on "New Workflow"
// Adding a Webhook Node
- In the left sidebar, search for "Webhook"
- Drag the Webhook node onto your canvas
- In the node settings, select
POSTfor the method and entersend-slack-messageas the path - Click "Save"
// Adding a Slack Node
- Search for "Slack" and drag the node onto your canvas
- Connect the Webhook node to the Slack node
- Configure the Slack node with your bot token and target channel
// Activating the Workflow
- Click "Execute" to test the connection
- If successful, toggle the workflow to "Active"
- Copy the webhook URL to use as your trigger
# Conclusion
You now have a fully functional, self-hosted n8n automation platform running in Docker. You have learned how to install Docker and Docker Compose, create a proper directory structure for data persistence, and configure n8n. You have also set up authentication and security, accessed the web interface, and created your first workflow.
The beauty of this setup is its portability and scalability. With just a few commands, you can move n8n to a different server or upgrade to a newer version. From here, your automation journey has endless possibilities.
Shittu Olumide is a software engineer and technical writer passionate about leveraging cutting-edge technologies to craft compelling narratives, with a keen eye for detail and a knack for simplifying complex concepts. You can also find Shittu on Twitter.