How to Use Hugging Face AutoTrain to Fine-tune LLMs
Easily improve our LLM capability with this tool.
Image by Editor
Introduction
In recent years, the Large Language Model (LLM) has changed how people work and has been used in many fields, such as education, marketing, research, etc. Given the potential, LLM can be enhanced to solve our business problems better. This is why we could perform LLM fine-tuning.
We want to fine-tune our LLM for several reasons, including adopting specific domain use cases, improving the accuracy, data privacy and security, controlling the model bias, and many others. With all these benefits, it’s essential to learn how to fine-tune our LLM to have one in production.
One way to perform LLM fine-tuning automatically is by using Hugging Face’s AutoTrain. The HF AutoTrain is a no-code platform with Python API to train state-of-the-art models for various tasks such as Computer Vision, Tabular, and NLP tasks. We can use the AutoTrain capability even if we don’t understand much about the LLM fine-tuning process.
So, how does it work? Let’s explore further.
Getting Started with AutoTrain
Even if HF AutoTrain is a no-code solution, we can develop it on top of the AutoTrain using Python API. We would explore the code routes as the no-code platform isn’t stable for training. However, if you want to use the no-code platform, We can create the AutoTrain space using the following page. The overall platform will be shown in the image below.
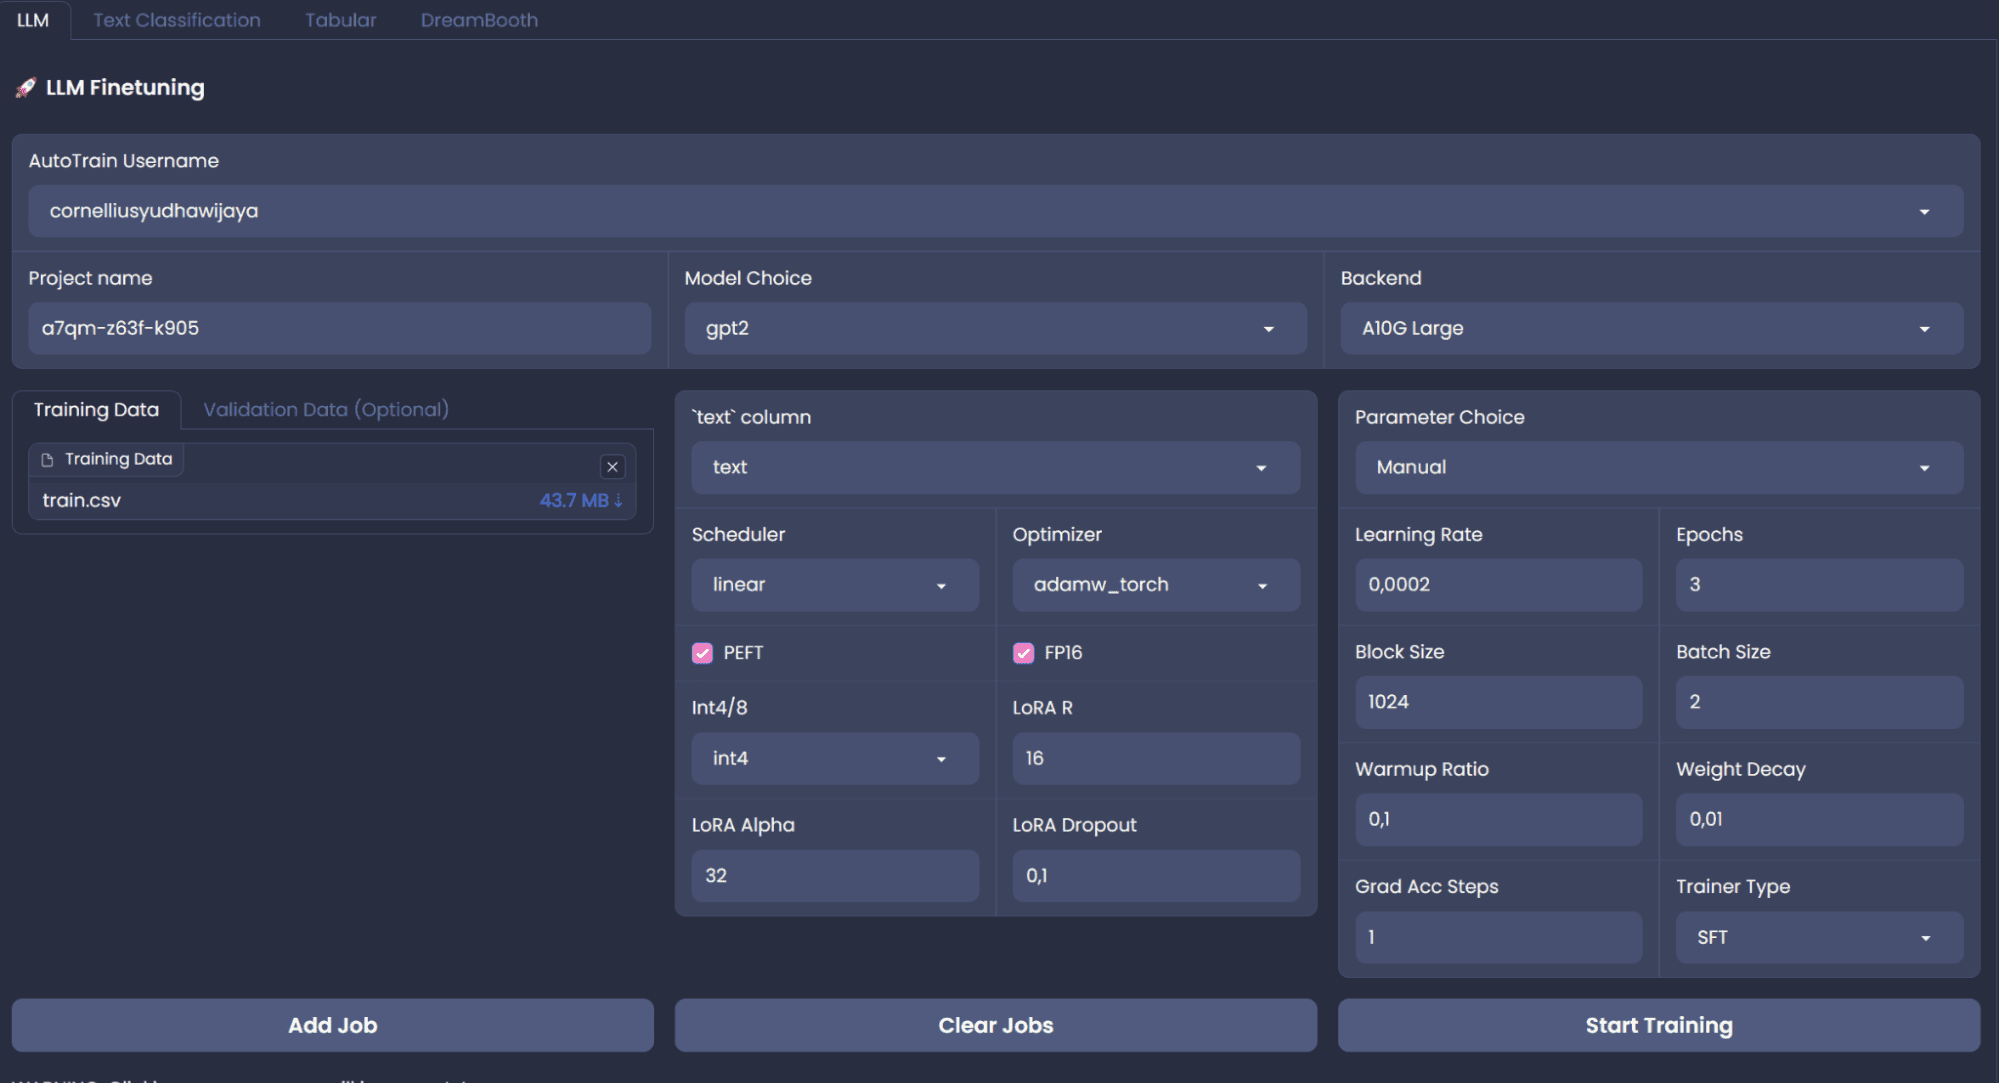
Image by Author
To fine-tune the LLM with Python API, we need to install the Python package, which you can run using the following code.
pip install -U autotrain-advanced
Also, we would use the Alpaca sample dataset from HuggingFace, which required datasets package to acquire.
pip install datasets
Then, use the following code to acquire the data we need.
from datasets import load_dataset

# Load the dataset
dataset = load_dataset("tatsu-lab/alpaca")
train = dataset['train']
Additionally, we would save the data in the CSV format as we would need them for our fine-tuning.
train.to_csv('train.csv', index = False)
With the environment and the dataset ready, let’s try to use HuggingFace AutoTrain to fine-tune our LLM.
Fine-tuning Procedure and Evaluation
I would adapt the fine-tuning process from the AutoTrain example, which we can find here. To start the process, we put the data we would use to fine-tune in the folder called data.
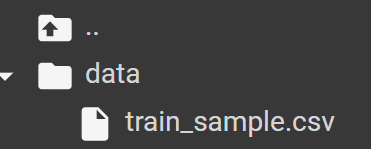
Image by Author
For this tutorial, I try to sample only 100 row data so our training process can be much more swifter. After we have our data ready, we could use our Jupyter Notebook to fine-tune our model. Make sure the data contain ‘text’ column as the AutoTrain would read from that column only.
First, let’s run the AutoTrain setup using the following command.
!autotrain setup
Next, we would provide an information required for AutoTrain to run. For the following one is the information about the project name and the pre-trained model you want. You can only choose the model that was available in the HuggingFace.
project_name = 'my_autotrain_llm'
model_name = 'tiiuae/falcon-7b'
Then we would add HF information, if you want push your model to teh repository or using a private model.
push_to_hub = False
hf_token = "YOUR HF TOKEN"
repo_id = "username/repo_name"
Lastly, we would initiate the model parameter information in the variables below. You can change them as you like to see if the result is good or not.
learning_rate = 2e-4
num_epochs = 4
batch_size = 1
block_size = 1024
trainer = "sft"
warmup_ratio = 0.1
weight_decay = 0.01
gradient_accumulation = 4
use_fp16 = True
use_peft = True
use_int4 = True
lora_r = 16
lora_alpha = 32
lora_dropout = 0.045
With all the information is ready, we would set up the environment to accept all the information we have set up previously.
import os
os.environ["PROJECT_NAME"] = project_name
os.environ["MODEL_NAME"] = model_name
os.environ["PUSH_TO_HUB"] = str(push_to_hub)
os.environ["HF_TOKEN"] = hf_token
os.environ["REPO_ID"] = repo_id
os.environ["LEARNING_RATE"] = str(learning_rate)
os.environ["NUM_EPOCHS"] = str(num_epochs)
os.environ["BATCH_SIZE"] = str(batch_size)
os.environ["BLOCK_SIZE"] = str(block_size)
os.environ["WARMUP_RATIO"] = str(warmup_ratio)
os.environ["WEIGHT_DECAY"] = str(weight_decay)
os.environ["GRADIENT_ACCUMULATION"] = str(gradient_accumulation)
os.environ["USE_FP16"] = str(use_fp16)
os.environ["USE_PEFT"] = str(use_peft)
os.environ["USE_INT4"] = str(use_int4)
os.environ["LORA_R"] = str(lora_r)
os.environ["LORA_ALPHA"] = str(lora_alpha)
os.environ["LORA_DROPOUT"] = str(lora_dropout)
To run the AutoTrain in our notebook, we would use the following command.
!autotrain llm \
--train \
--model ${MODEL_NAME} \
--project-name ${PROJECT_NAME} \
--data-path data/ \
--text-column text \
--lr ${LEARNING_RATE} \
--batch-size ${BATCH_SIZE} \
--epochs ${NUM_EPOCHS} \
--block-size ${BLOCK_SIZE} \
--warmup-ratio ${WARMUP_RATIO} \
--lora-r ${LORA_R} \
--lora-alpha ${LORA_ALPHA} \
--lora-dropout ${LORA_DROPOUT} \
--weight-decay ${WEIGHT_DECAY} \
--gradient-accumulation ${GRADIENT_ACCUMULATION} \
$( [[ "$USE_FP16" == "True" ]] && echo "--fp16" ) \
$( [[ "$USE_PEFT" == "True" ]] && echo "--use-peft" ) \
$( [[ "$USE_INT4" == "True" ]] && echo "--use-int4" ) \
$( [[ "$PUSH_TO_HUB" == "True" ]] && echo "--push-to-hub --token ${HF_TOKEN} --repo-id ${REPO_ID}" )
If you run the AutoTrain successfully, you should find the following folder in your directory with all the model and tokenizer producer by AutoTrain.
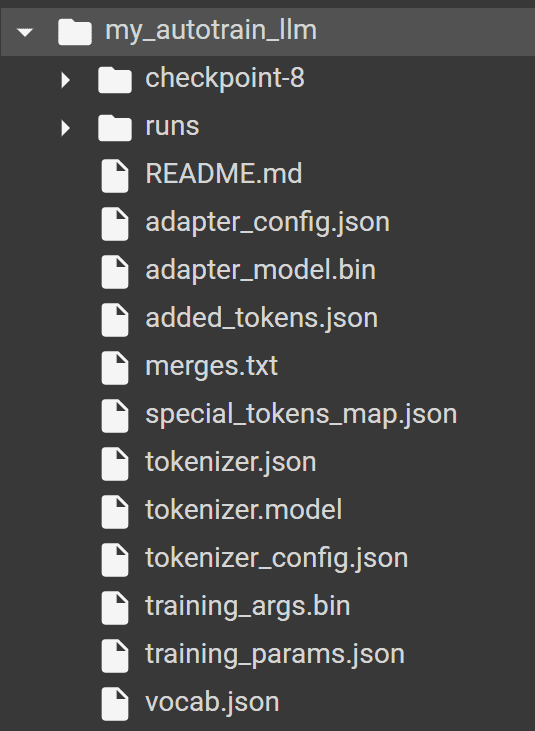
Image by Author
To test the model, we would use the HuggingFace transformers package with the following code.
from transformers import AutoModelForCausalLM, AutoTokenizer

model_path = "my_autotrain_llm"
tokenizer = AutoTokenizer.from_pretrained(model_path)
model = AutoModelForCausalLM.from_pretrained(model_path)
Then, we can try to evaluate our model based on the training input we have given. For example, we use the "Health benefits of regular exercise" as the input.
input_text = "Health benefits of regular exercise"
input_ids = tokenizer.encode(input_text, return_tensors="pt")
output = model.generate(input_ids)
predicted_text = tokenizer.decode(output[0], skip_special_tokens=False)
print(predicted_text)

The result is certainly still could be better, but at least it’s closer to the sample data we have provided. We can try to playing around with the pre-trained model and the parameter to improve the fine-tuning.
Tips for Successful Fine-tuning
There are few best practices that you might want to know to improve the fine-tuning process, including:
- Prepare our dataset with the quality matching the representative task,
- Study the pre-trained model that we used,
- Use an appropriate regularization techniques to avoid overfitting,
- Trying out the learning rate from smaller and gradually become bigger,
- Use fewer epoch as the training as LLM usually learn the new data quite fast,
- Don’t ignore the computational cost, as it would become higher with bigger data, parameter, and model,
- Make sure you follow the ethical consideration regarding the data you use.
Conclusion
Fine-tuning our Large Language Model is beneficial to our business process, especially if there are certain requirements that we required. With the HuggingFace AutoTrain, we can boost up our training process and easily using the available pre-trained model to fine-tune the model.
Cornellius Yudha Wijaya is a data science assistant manager and data writer. While working full-time at Allianz Indonesia, he loves to share Python and data tips via social media and writing media. Cornellius writes on a variety of AI and machine learning topics.