Building a Flask API to Automatically Extract Named Entities Using SpaCy
This article discusses how to use the Named Entity Recognition module in spaCy to identify people, organizations, or locations in text, then deploy a Python API with Flask.
By Susan Li, Sr. Data Scientist

The overwhelming amount of unstructured text data available today provides a rich source of information if the data can be structured. Named-entity Recognition (NER)(also known as Named-entity Extraction) is one of the first steps to build knowledge from semi-structured and unstructured text sources.
Only after NER, we will be able to reveal at a minimum, who, and what, the information contains. As a result, a data science team would be able to see a structured representation of all of the the names of people, companies, locations and so on in a corpus that could serve as a point of departure for further analysis and investigation.
In the previous post, we have learned and practiced how to build named entity recognizer using NLTK and spaCy. To take steps further, create something useful, this article will cover how to develop and deploy a simple named entities extractor using spaCy and serve it with a Flask API in python.
A Flask API
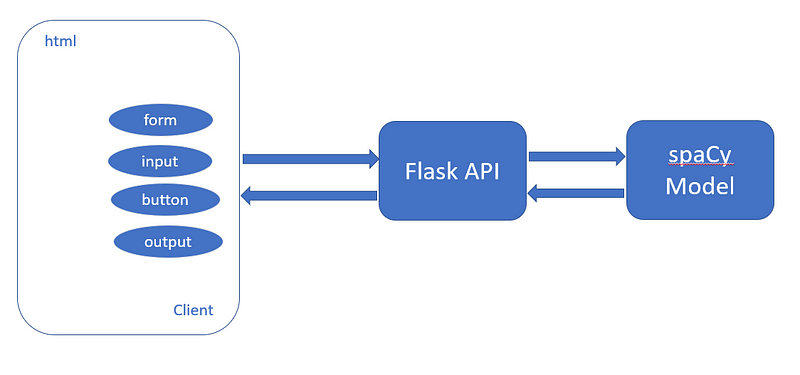
Our goal is to build an API that we provide text, for example, a New York Times article (or any article) as input, our named entity extractor will then identify and extract four types of entities: organization, person, location and money. The basic architecture looks like this:
To build the API, we will need to create two files:
index.htmlto handle the template of the API.app.pyto handle the requests and return the output file.
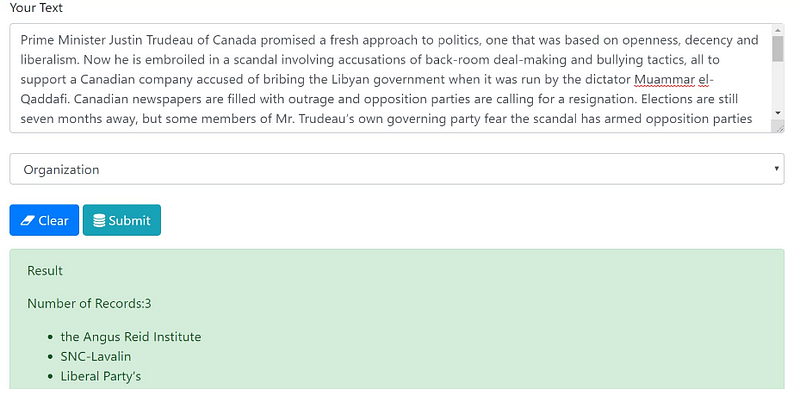
And the final product will look like this:
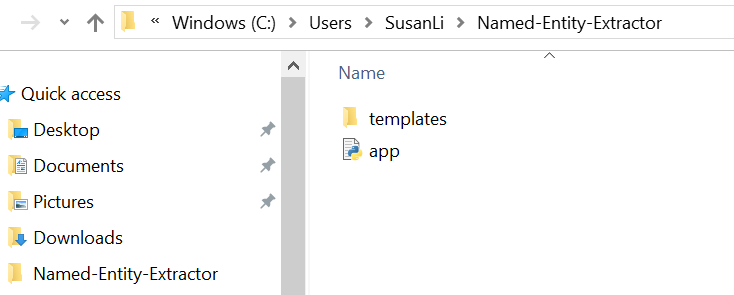
Let’s start building the API and create two files step-by-step. Our project folder structure is like below:
- Our project is located in Named-Entity-Extractor folder.
- The
templatesdirectory is in the same folder as the app.py in which it is created.
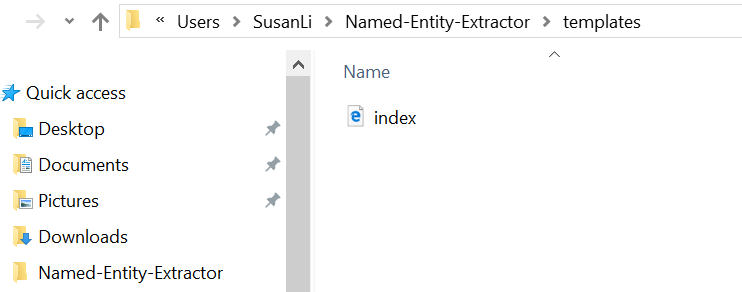
- The index.html is located in the templates folder.
index.html
- We name our App as “Named Entity Extractor”
- Use BootstrapCDN, copy-paste the stylesheet
<link>into our<head>before all other stylesheets to load our CSS. - Get Bootstrap’s navigation header, the navbar from a template for a simple informational website. It includes a large callout called a jumbotron and three supporting pieces of content.
- Copy-paste the navbar code from the template’s source code.
- Bootstrap requires a container element to wrap site contents and house our grid system.
- In our case, for the first container, we will create a vertical form with two input fields, one “Clear” button, and one “Submit” button.
- Textual form controls are styled with the
form-controlclass. - We are giving our users four taskoptions (a.k. a named entity extraction tasks) to choose from, they are: Organization, Person, Geopolitical & Money.
- The second container provides contextual feedback messages for our user’s action, that is the results of named entity extraction.
- Not only we want to print out named entity extraction results to our user, we also want to print out the number of results for each of named entity extractions.
- Copy-paste the JavaScript in the
<script>s near the end of our html page, right before the closing</body>tag,
app.py
Our app.py file is rather simple and easy to understand. It contains the main code that will be executed by the Python interpreter to run the Flask web application, it includes the spaCy code for recognizing named entities.
- We ran our app as a single module; thus we initialized a new Flask instance with the argument
__name__to let Flask know that it can find the HTML template folder (templates) in the same directory where it is located. - We use the route decorator (
@app.route('/')) to specify the URL that should trigger the execution of theindexfunction. - Our
indexfunction simply rendered theindex.htmlHTML file, which is located in thetemplatesfolder. - Inside the
processfunction, we apply nlp to the raw text user will enter, and extract pre-determined named entities (Organization, Person, Geopolitical & Money) from the raw text. - We use the
POSTmethod to transport the form data to the server in the message body. Finally, by setting thedebug=Trueargument inside theapp.runmethod, we further activated Flask's debugger. - We use the
runfunction to only run the application on the server when this script is directly executed by the Python interpreter, which we ensured using theifstatement with__name__ == '__main__'.
We are almost there!
Try our API
- Start the Command Prompt.
- Navigate to our Named-Entity-Extractor folder.
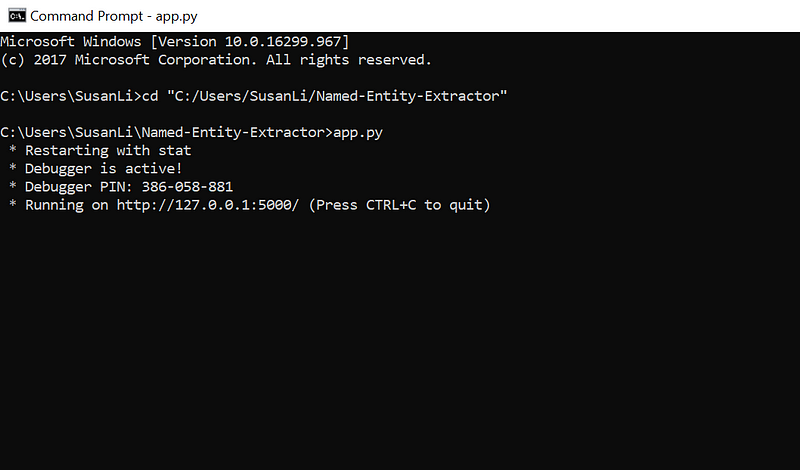
- Open your Web browser, copy-paste “http://127.0.0.1:5000/” into the address bar, and we will see this form:

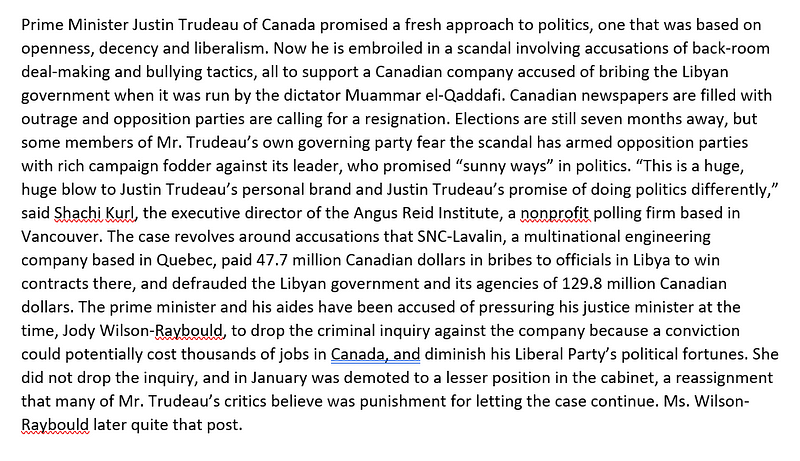
- I copy-pasted a few paragraphs of an article from nytimes, it is a Canadian story:
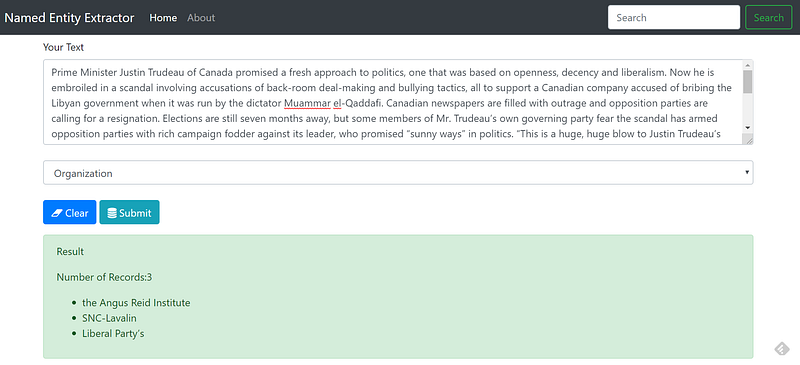
- Select “Organization” under “Select task”, then click “Submit”, this is what we get:
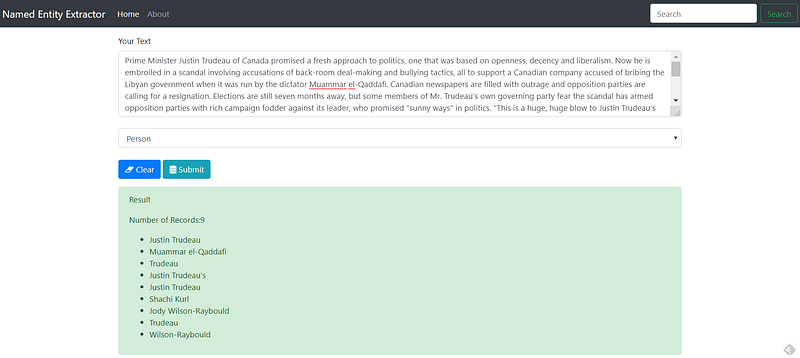
- Nice. Let’s try “Person” entity:
- “Geopolitical” entity:
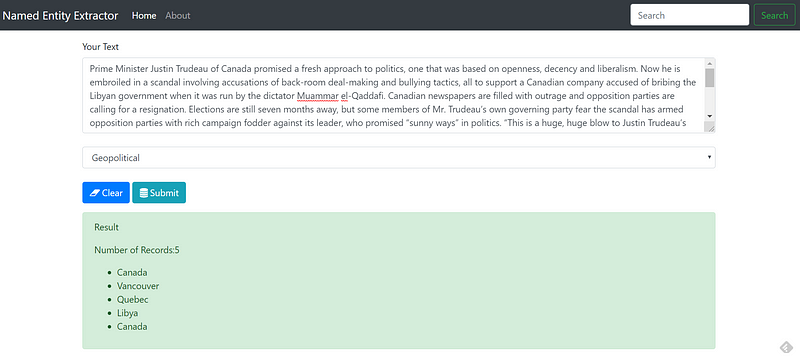
- “Money” entity:

We are done!
If you followed the above steps and made it here, congratulations! You have created a simple but functioning named entity extractor at zero cost! When you look back, there were only two files we need to create. and all we need are open source libraries and learning how to use them to create these two files.
By building an app like this, you have learned new skills and using these skills to creates something useful.
The complete source code is available at this repository. Happy Monday!
Reference:
Bio: Susan Li is changing the world, one article at a time. She is a Sr. Data Scientist, located in Toronto, Canada.
Original. Reposted with permission.
Related:
- All you need to know about text preprocessing for NLP and Machine Learning
- Building NLP Classifiers Cheaply With Transfer Learning and Weak Supervision
- An Introduction on Time Series Forecasting with Simple Neural Networks & LSTM