Dockerize Jupyter with the Visual Debugger
A step by step guide to enable and use visual debugging in Jupyter in a docker container.
By Manish Tiwari, Data Enthusiast

Jupyter recently announced its first-ever public release of the much-awaited visual debugger. Though it is the first release it supports all the basic debugging requirements needed to debug and inspect variables, etc.
The Data Science community is relied heavily on Jupyter Notebooks due to its ability to easily communicate and share the outcomes in an interactive way.
However, the only concern was the missing visual debugging ability due to which people usually had to switch to other available classical IDEs which offer a better debugging and code refactoring ability. This feature was much awaited by the data science community which is finally released now.
For a brief overview of how the visual debugger looks in action, please refer below screencast:
In this article, we will be going through the steps needed for setting up the visual debugger in the existing JupyterLab environment and will also dockerize the JupyterLab environment with the visual debugger enabled by default.
Prerequisites:
JupyterLab 2.0+
Basic understanding of debugging in any programming language
Basic understanding of Docker.
Installation:
Assuming that you are already using JupterLab you just need to install JupyterLab debugger extension for the frontend debugging and any kernel supporting the Jupyter debugging protocol at the backend.
Installing JupyterLab extension for enabling the frontend debugging:
The JupyterLab uses nodejs to install extensions, so we need to install nodejs as well in order to install the frontend debugger extension.
In future releases, Jupyter may include this extension by default.
conda install -c conda-forge nodejs
jupyter labextension install @jupyterlab/debugger
Installing kernel xeus-python :
In the backend as of now, only xeus-python has support for Jupyter debugging protocol. In the future, there may be many other kernels having support for this protocol.
conda install xeus-python -c conda-forgeNow if you run the Jupyter Lab, you should be able to see 2 additional icons, 1 each in the console and notebook sections for the xeus-python kernel.
Why Containerize?
Containers enable smoother development across multiple environments. It’s why they’re the technological foundation for the cloud-native approach to app delivery.
Problems arise when the supporting software environment is not identical, says Docker creator Solomon Hykes. “You’re going to test using Python 2.7, and then it’s going to run on Python 3 in production and something weird will happen. Or you’ll rely on the behavior of a certain version of an SSL library and another one will be installed. You’ll run your tests on Debian and production is on Red Hat and all sorts of weird things happen.”
Container solves this problem by bundling the environment needed to run the application, the dependencies, binaries, all the necessary configurations and the application itself into one package. In this way, we no longer need to worry about the OS and other environment-specific dependencies as everything is packaged in one single independent entity that can run anywhere and everywhere.
Dockerize Jupyter with the Visual Debugger enabled
I assume that you are familiar with basic Docker commands and terminologies. Explaining how docker works is out of the scope of this article. However, if you feel you need to revisit then please refer to the Docker documentation.
Now we will create the Dockerfile needed to create the Docker image of our required environment. You can think of the image as the file having instructions to include everything that is required to run our application in the containers.
We will be using Miniconda, a minimal lightweight installer for Anaconda. It is a small, bootstrap version of Anaconda that includes only conda, Python, the packages they depend on, and a small number of other useful packages.
FROM continuumio/miniconda3Define the metadata of the Docker file and working directory:
LABEL maintainer=”Manish Tiwari <m***@gmail.com>”
LABEL version=”0.1"
LABEL description=”Debugging Jupyter Notebook”WORKDIR /jup
Install JupyterLab
RUN conda install -c conda-forge jupyterlabInstalling nodejs and labextension for frontend debugging
RUN conda install -c conda-forge nodejs
RUN jupyter labextension install @jupyterlab/debugger
Installing a kernel supporting Jupyter debugging protocol
RUN conda install xeus-python -c conda-forgeNote: Here we have used conda package manager, you could have also used pip, however, using both together is not recommended as it might break the environment.
Finally, expose the port and define the entry point
EXPOSE 8888
ENTRYPOINT [“jupyter”, “lab”,” — ip=0.0.0.0",” — allow-root”]
Our final Dockerfile should look as below:
Dockerize JupyterLab with Visual Debugger enabled
Build the Docker image from above Dockerfile.
Navigate to the folder containing the above Dockerfile and run the below command.
docker build -t visualdebugger .Alternatively, you can also run the command from anywhere providing the absolute path of the Dockerfile.
Once the image is built successfully, verify by listing the docker images by below command
docker image lsThe output should look like below:

Now run the docker image in a new container as below:
docker container run -p 8888:8888 visualdebugger-jupyterHere we are mapping the host port(first one before the colon) 8888 to the exposed port in container 8888. This is required for the host to communicate with the container’s port where Jupiter is listening in the container.
Once you run the above command you should see the output as below (provided the ports are not already being used by some other process):

This implies that our docker container is up and running. You can now open the URL specified in the above output and play with Jupyter and the visual debugger without even realizing that it is not running on the host machine.
You can also see the list of available containers by below command:
docker container lsThe above command should list the container along with the metadata of the container(s) as below:

Once you open the URL specified in the above output you should see JupyterLab running on host machine’s localhost and port 8888.
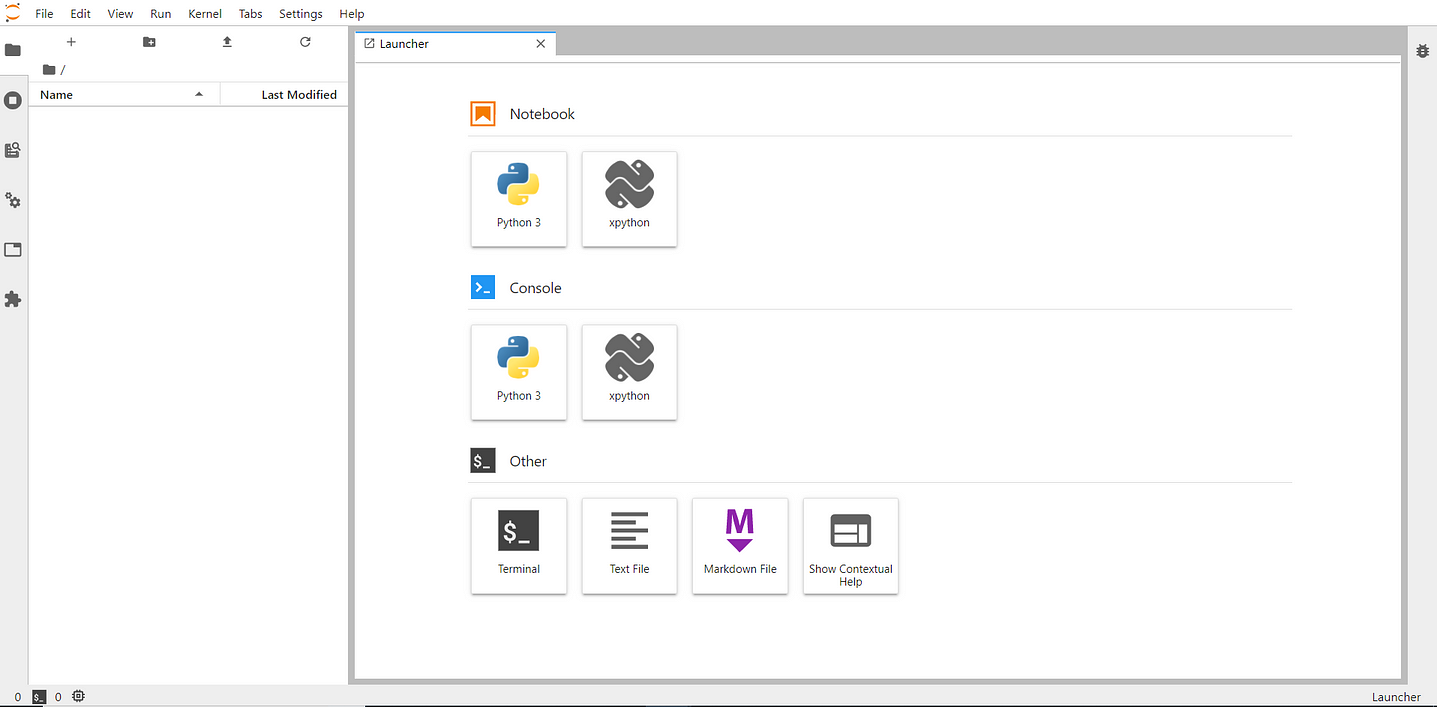
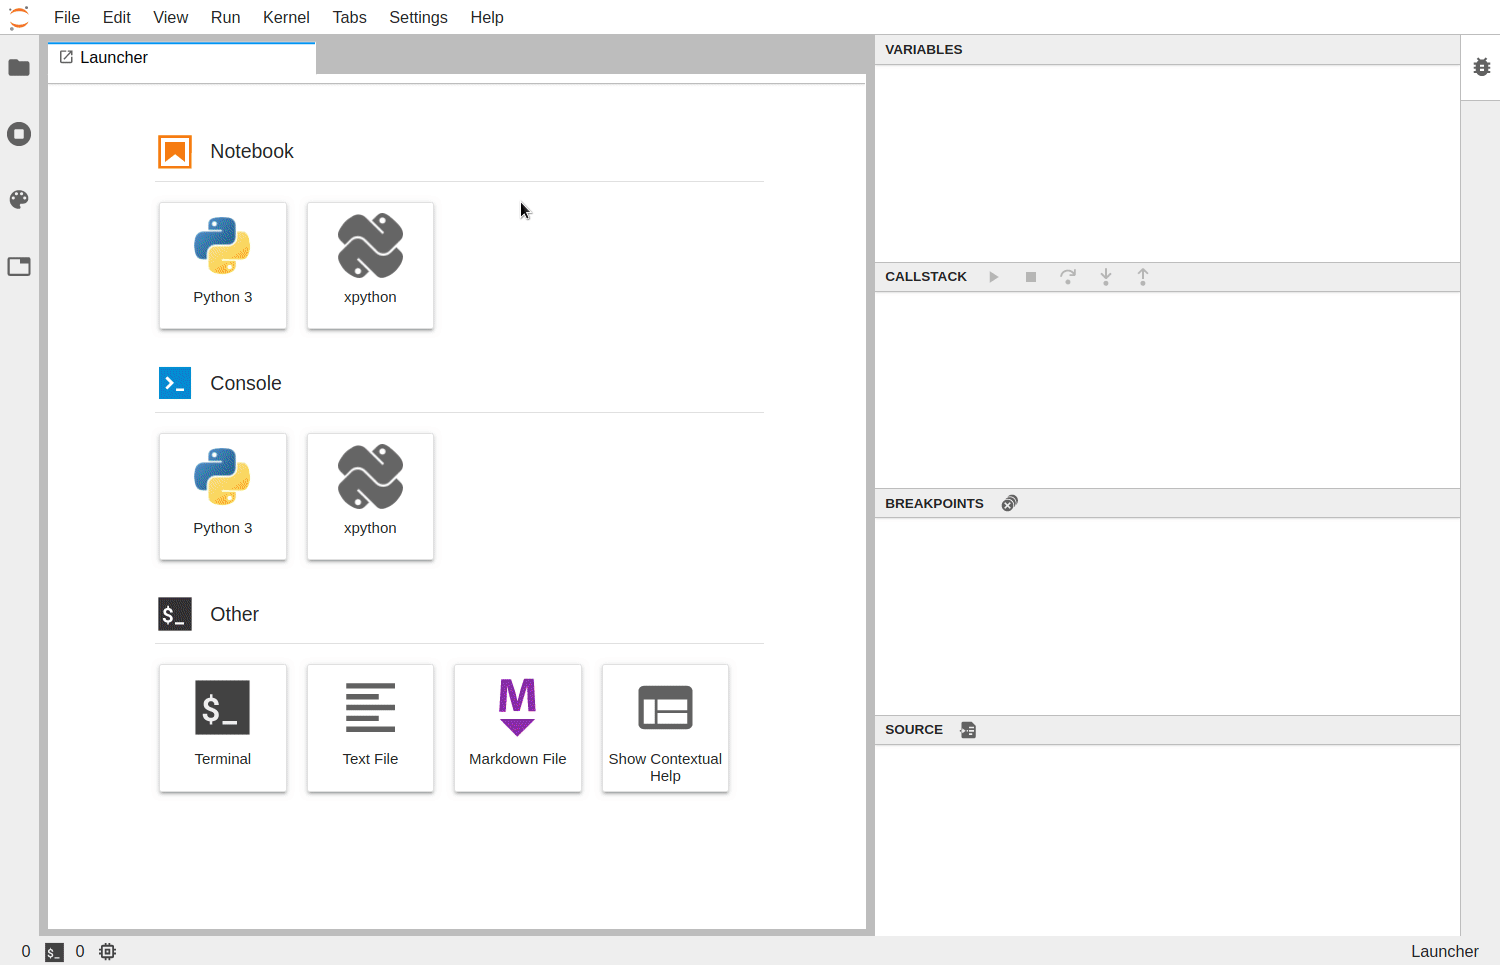
Now to play around with the visual debugger, open the Notebook or Console with xpython shown in the Launcher rather than Python.
I have published the above docker image we just built on docker hub in case you want a ready to use environment for Jupiter with visual debugging enabled.
You can pull the docker image by below command and play around with it.
docker pull beingmanish/visualdebugger-jupyterIf you wish to dive deeper into the visual debugging architecture of Jupyter, you may refer here.
Suggestions or questions? Please write in the comments.
References:
Jupyter Blog
Jupyter@Github
Bio: Manish Tiwari is a Data Enthusiast keen to share learnings and experience in AI space.
Original. Reposted with permission.
Related:
- The 4 Best Jupyter Notebook Environments for Deep Learning
- 5 Google Colaboratory Tips
- GitHub Python Data Science Spotlight: High Level Machine Learning & NLP, Ensembles, Command Line Viz & Docker Made Easy